DIY Morphing Pasta
⚠️: We cannot guarantee your health and safety if you eat the pasta you made following our instructions since we are not food safety experts. We did share some tips below based on our own experience if you want to try to eat the morphing pasta. In the past, we’ve eaten some and we are fine, but you should make your own decisions about whether you want to eat them.

Overview
Morphing pasta uses parametric groove-based morphing mechanism to convert flat pieces pasta dough into 3D shapes. Flat-packed morphing pasta can save space in food-packaging, supporting sustainability and green-cooking.
💡This page contains all the information you need to get started. If you are interested in more in-depth/technical details, you may check out this video below, the research project page.
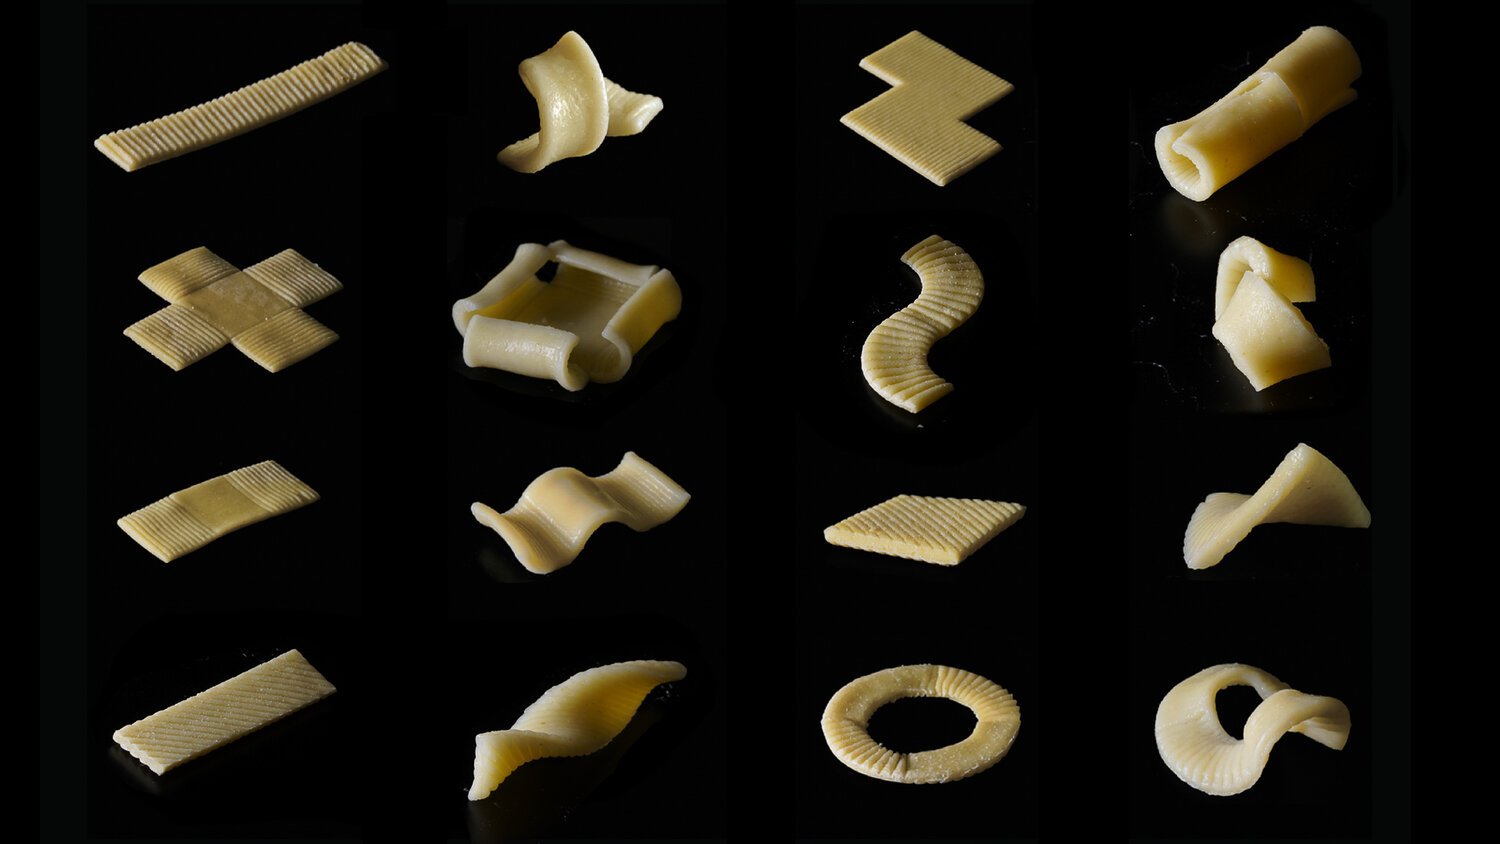
Morphing Pasta Sample Shapes
💡 For advanced design practice, you can also try designing the shapes with our computational design and simulation tool.
Materials and Tools You Need
Lists:
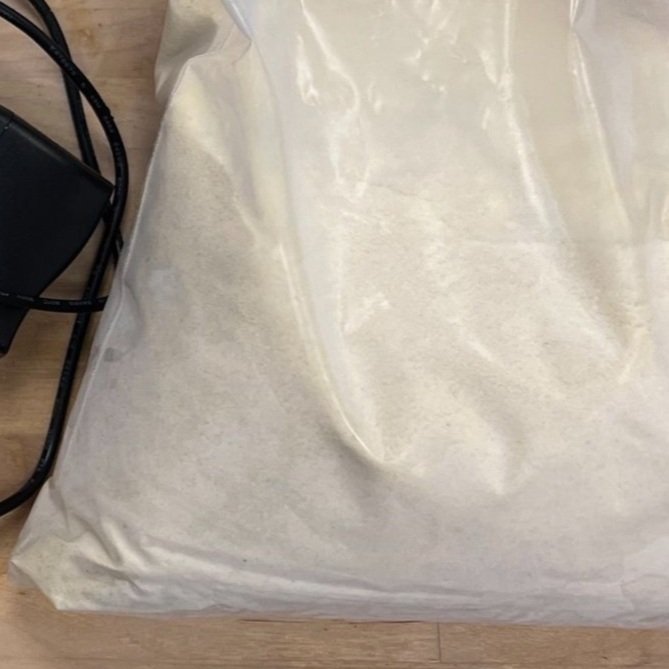
170g Semolina Flour
65g Room Temperature Water
3D Printed Stamps (more details below)
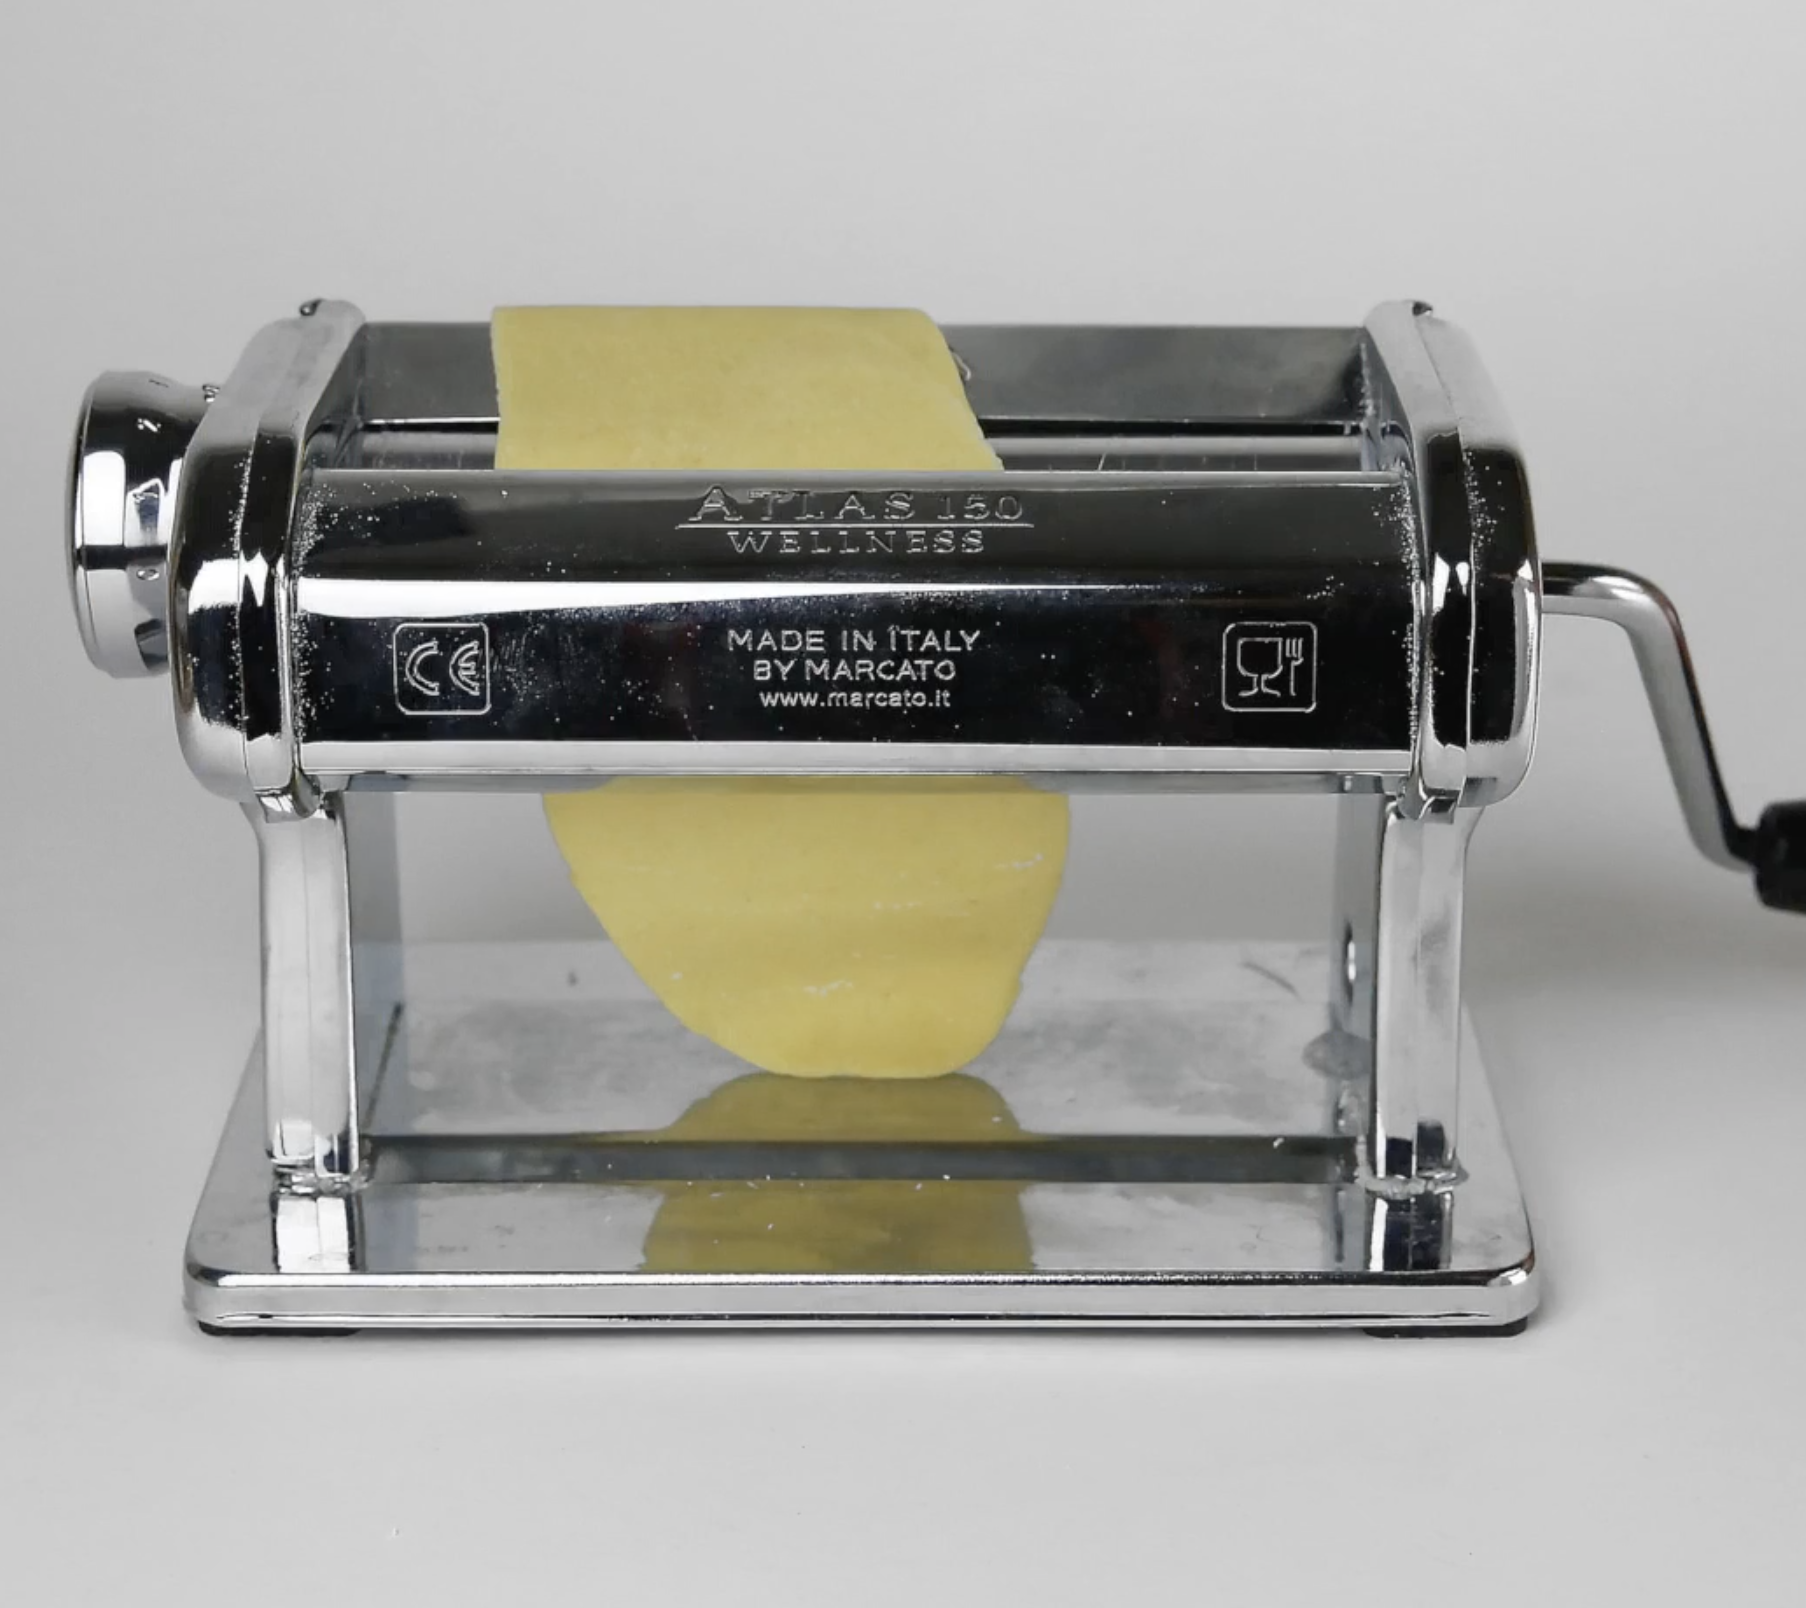
Pasta Roller/Sheeter (link)
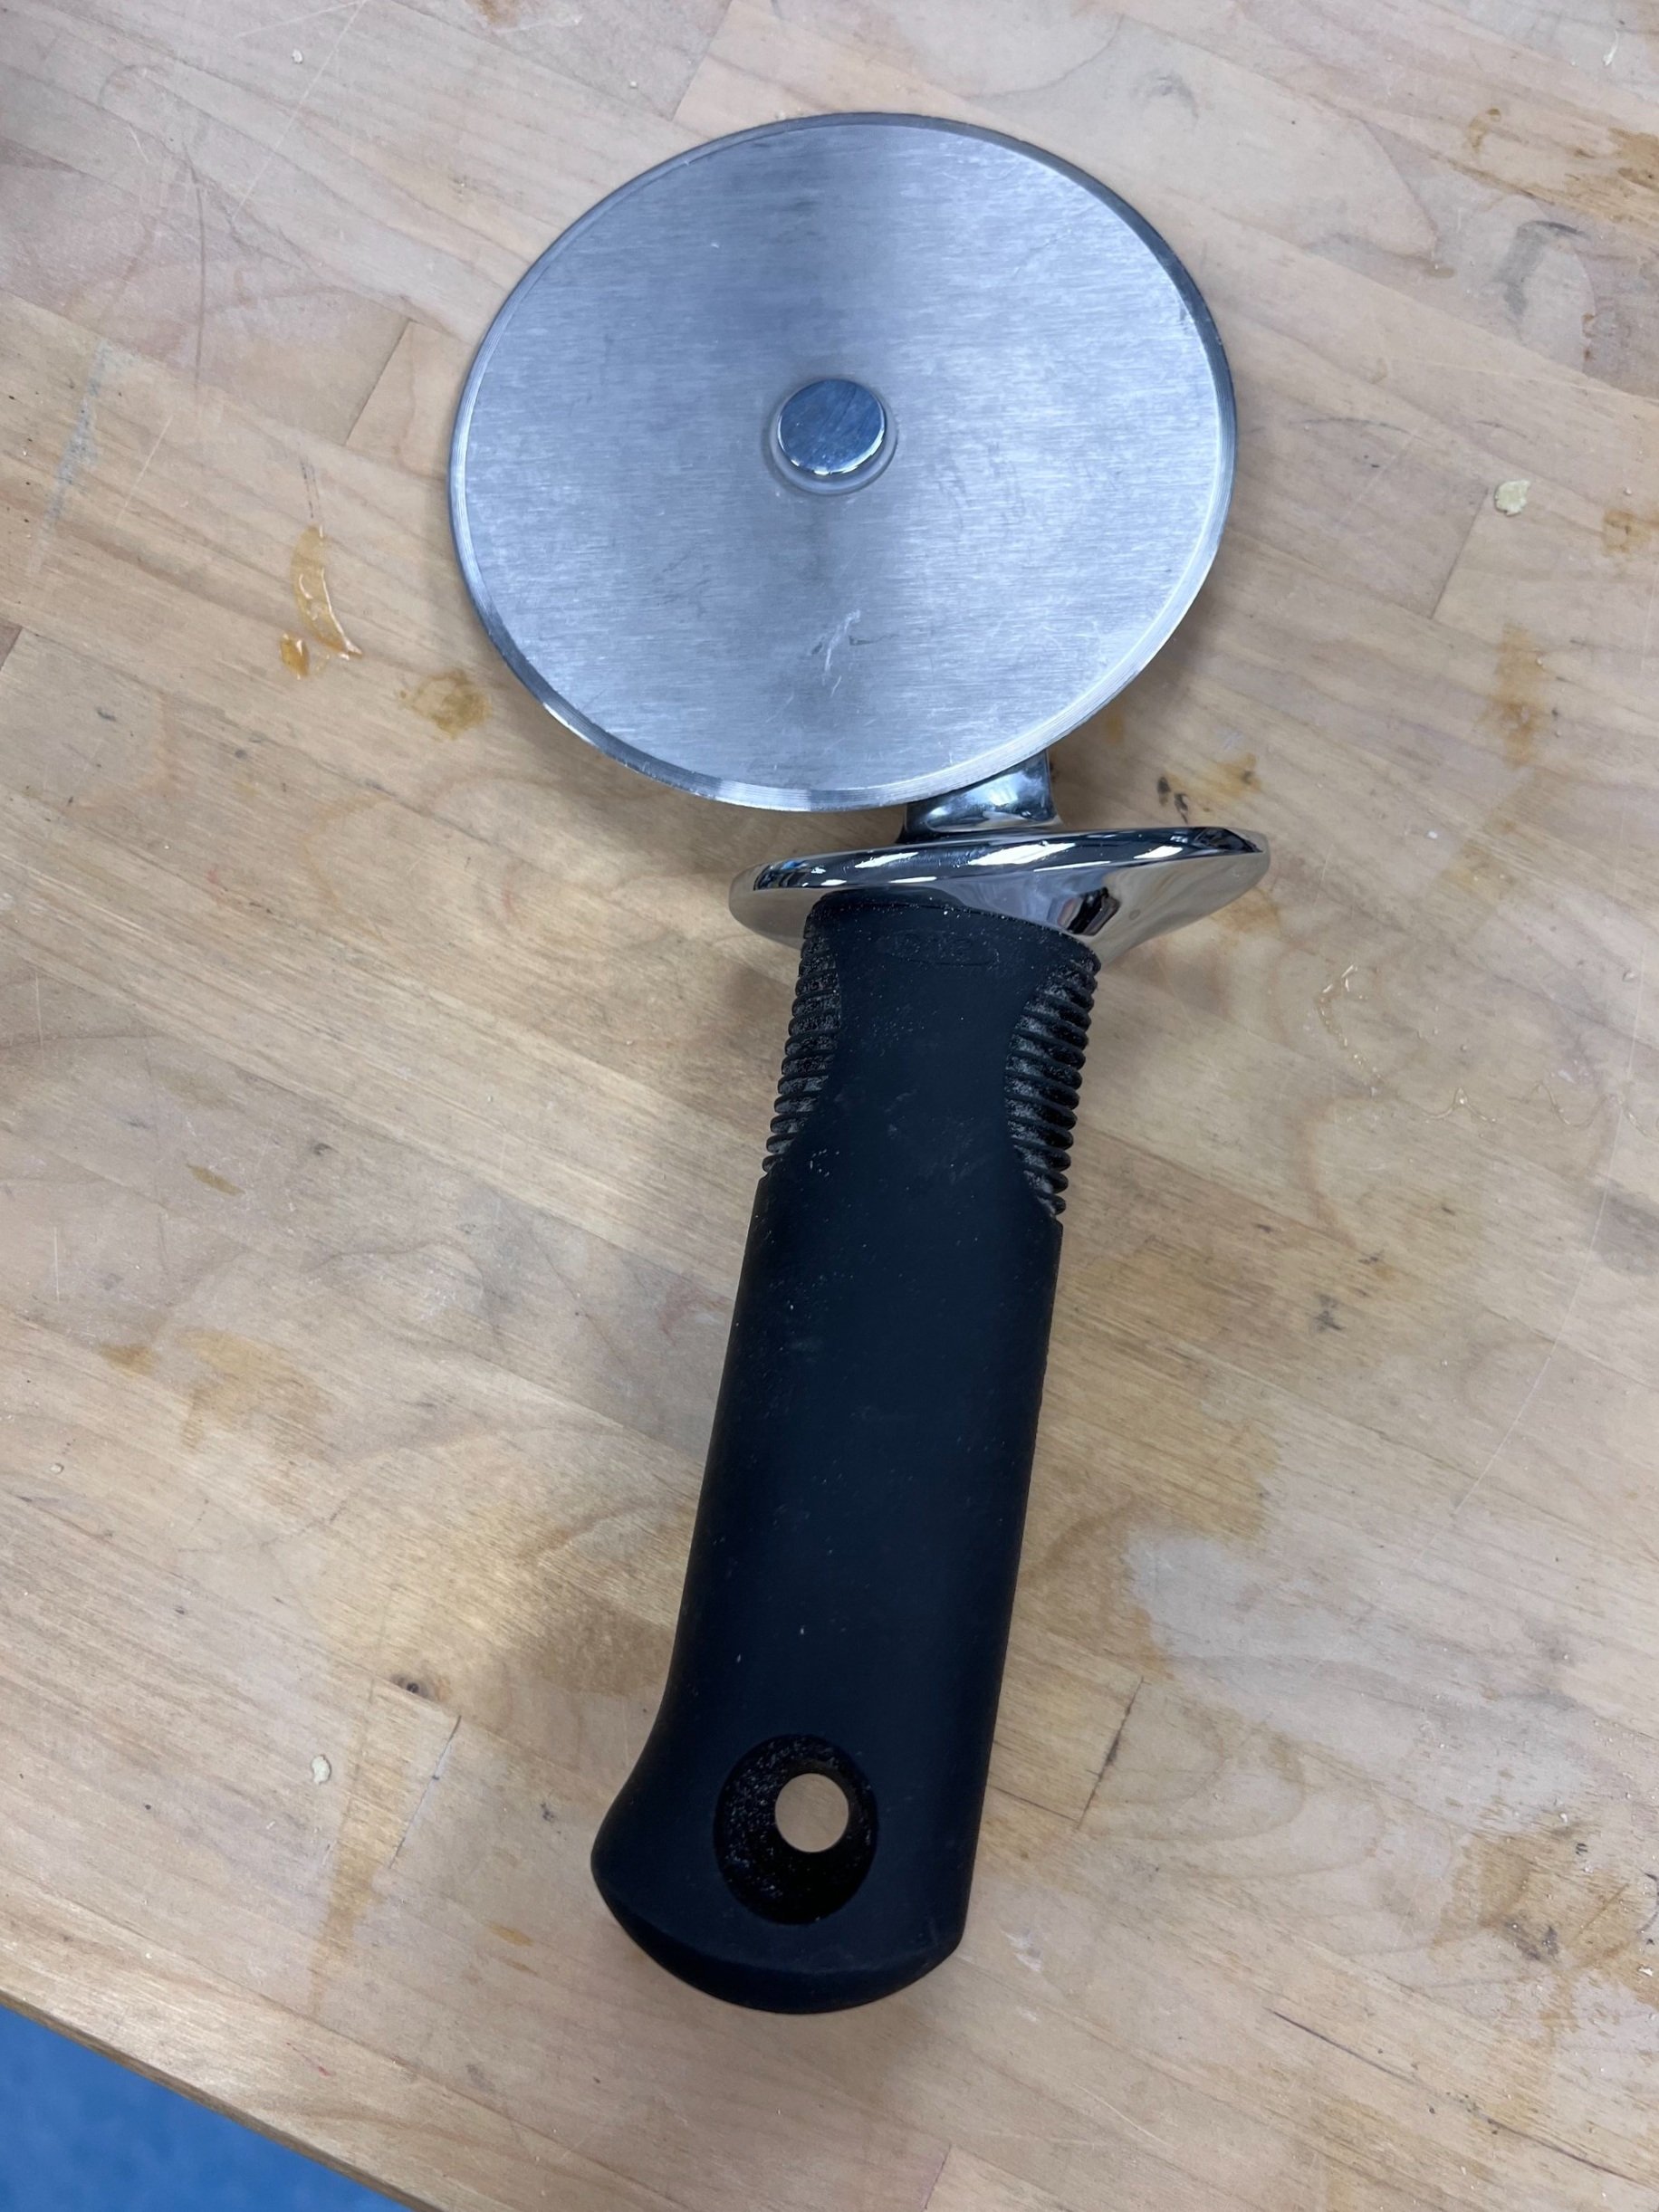
Dough Cutter (link)
Pasta Cooker
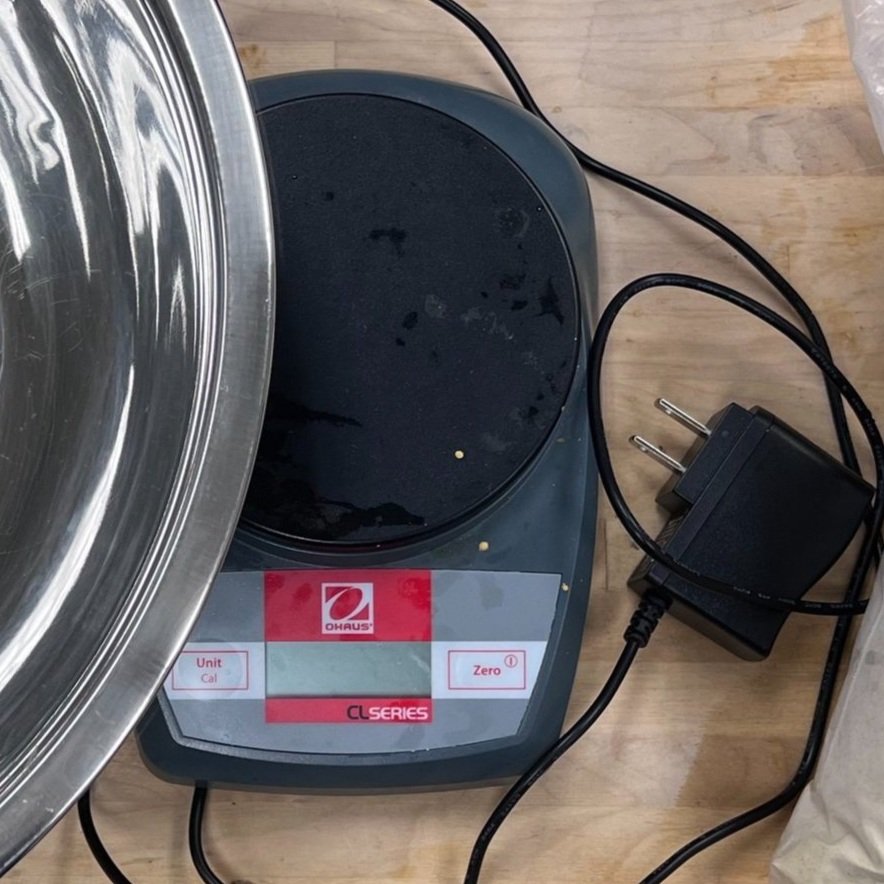
Weight Measure
💡For many items, the supplier/brand and link are just suggestions to help you find things. You may use parts or suppliers that are cheaper and/or easier to obtain.

Download and Print the Stamps
Download the model in .stl format provided here, and order your print online.
Use high-resolution 3D printer or printing service, link to an example service from Shapeways.
💡: If Shapeways warns you that some details in the models cannot be printed, you can choose “go ahead to print anyway”.
⚠️: The Shapeways printed models are not verified for being food-safe. We recommend a thorough cleaning and a food-safe resin coating if you plan to eat the pasta you make, such as this food grade mold release (CRC 03311). But again, we cannot guarantee your health and safety if you eat the pasta you made following our instructions since we are not food safety experts; in the past, we’ve eaten some and we are fine.

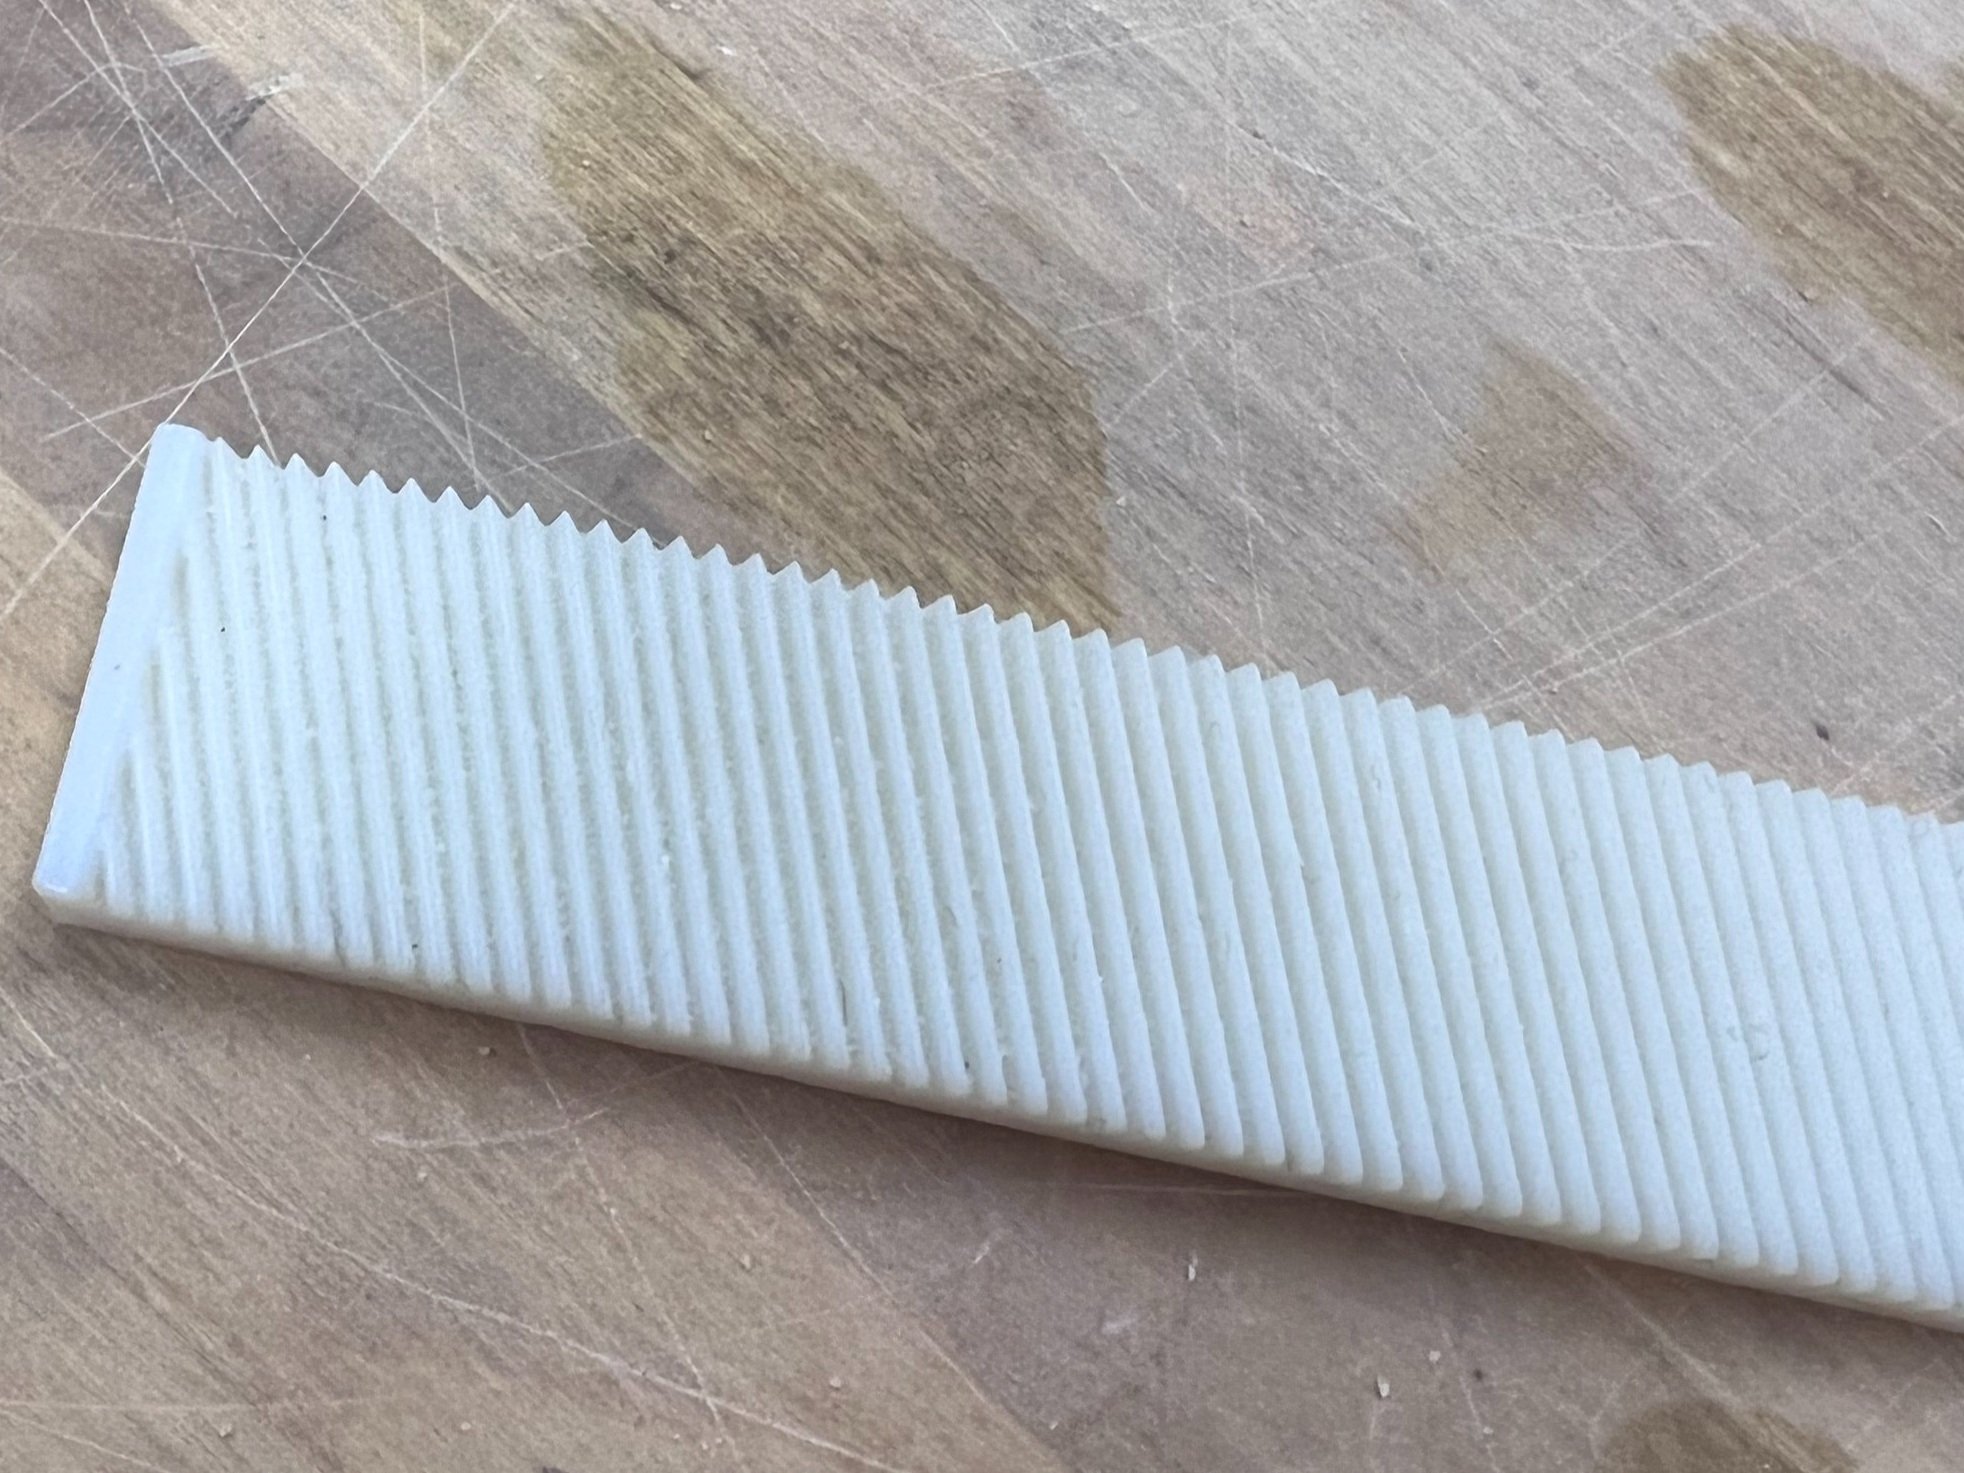
Stamps: Straight Line

Stamps: Angled Lines
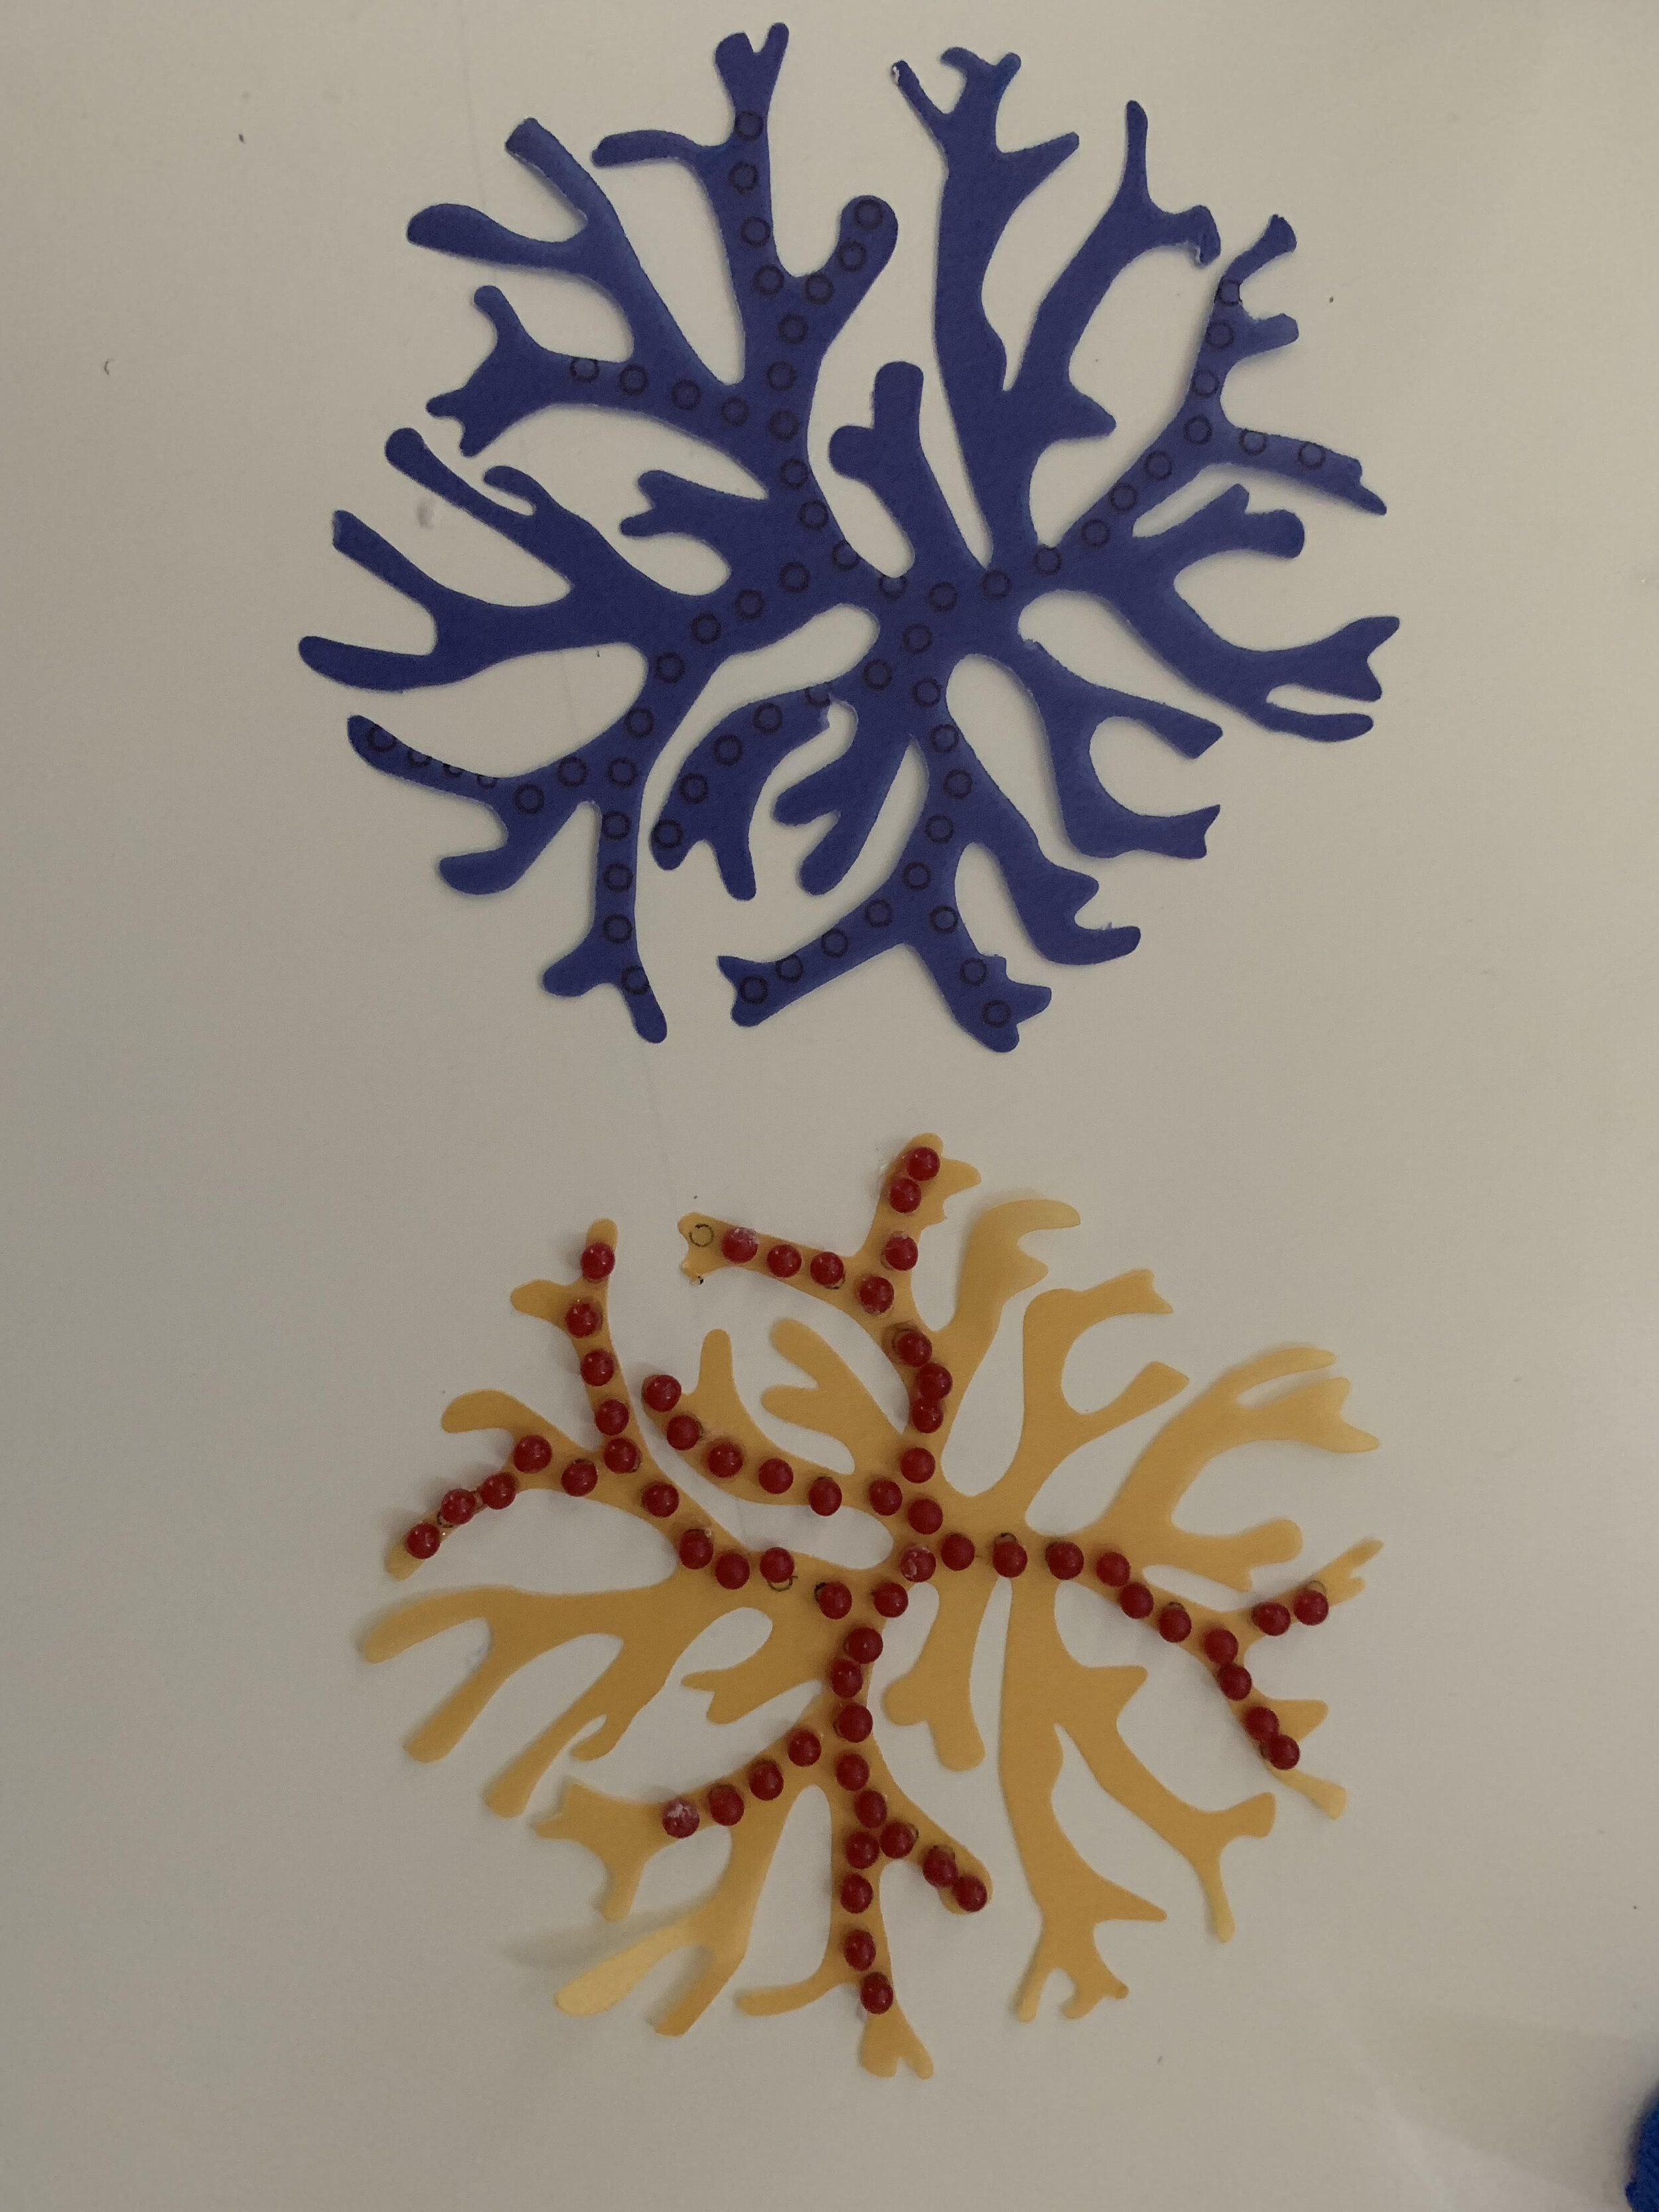
In order to produce a morphing rose flower, one needs two molds and two steps. First, you stamp the pasta with the “Pasta Stamp: Rose”; you then use the “Pasta Stamp: Rose Cutter” to cut out the flower shape.

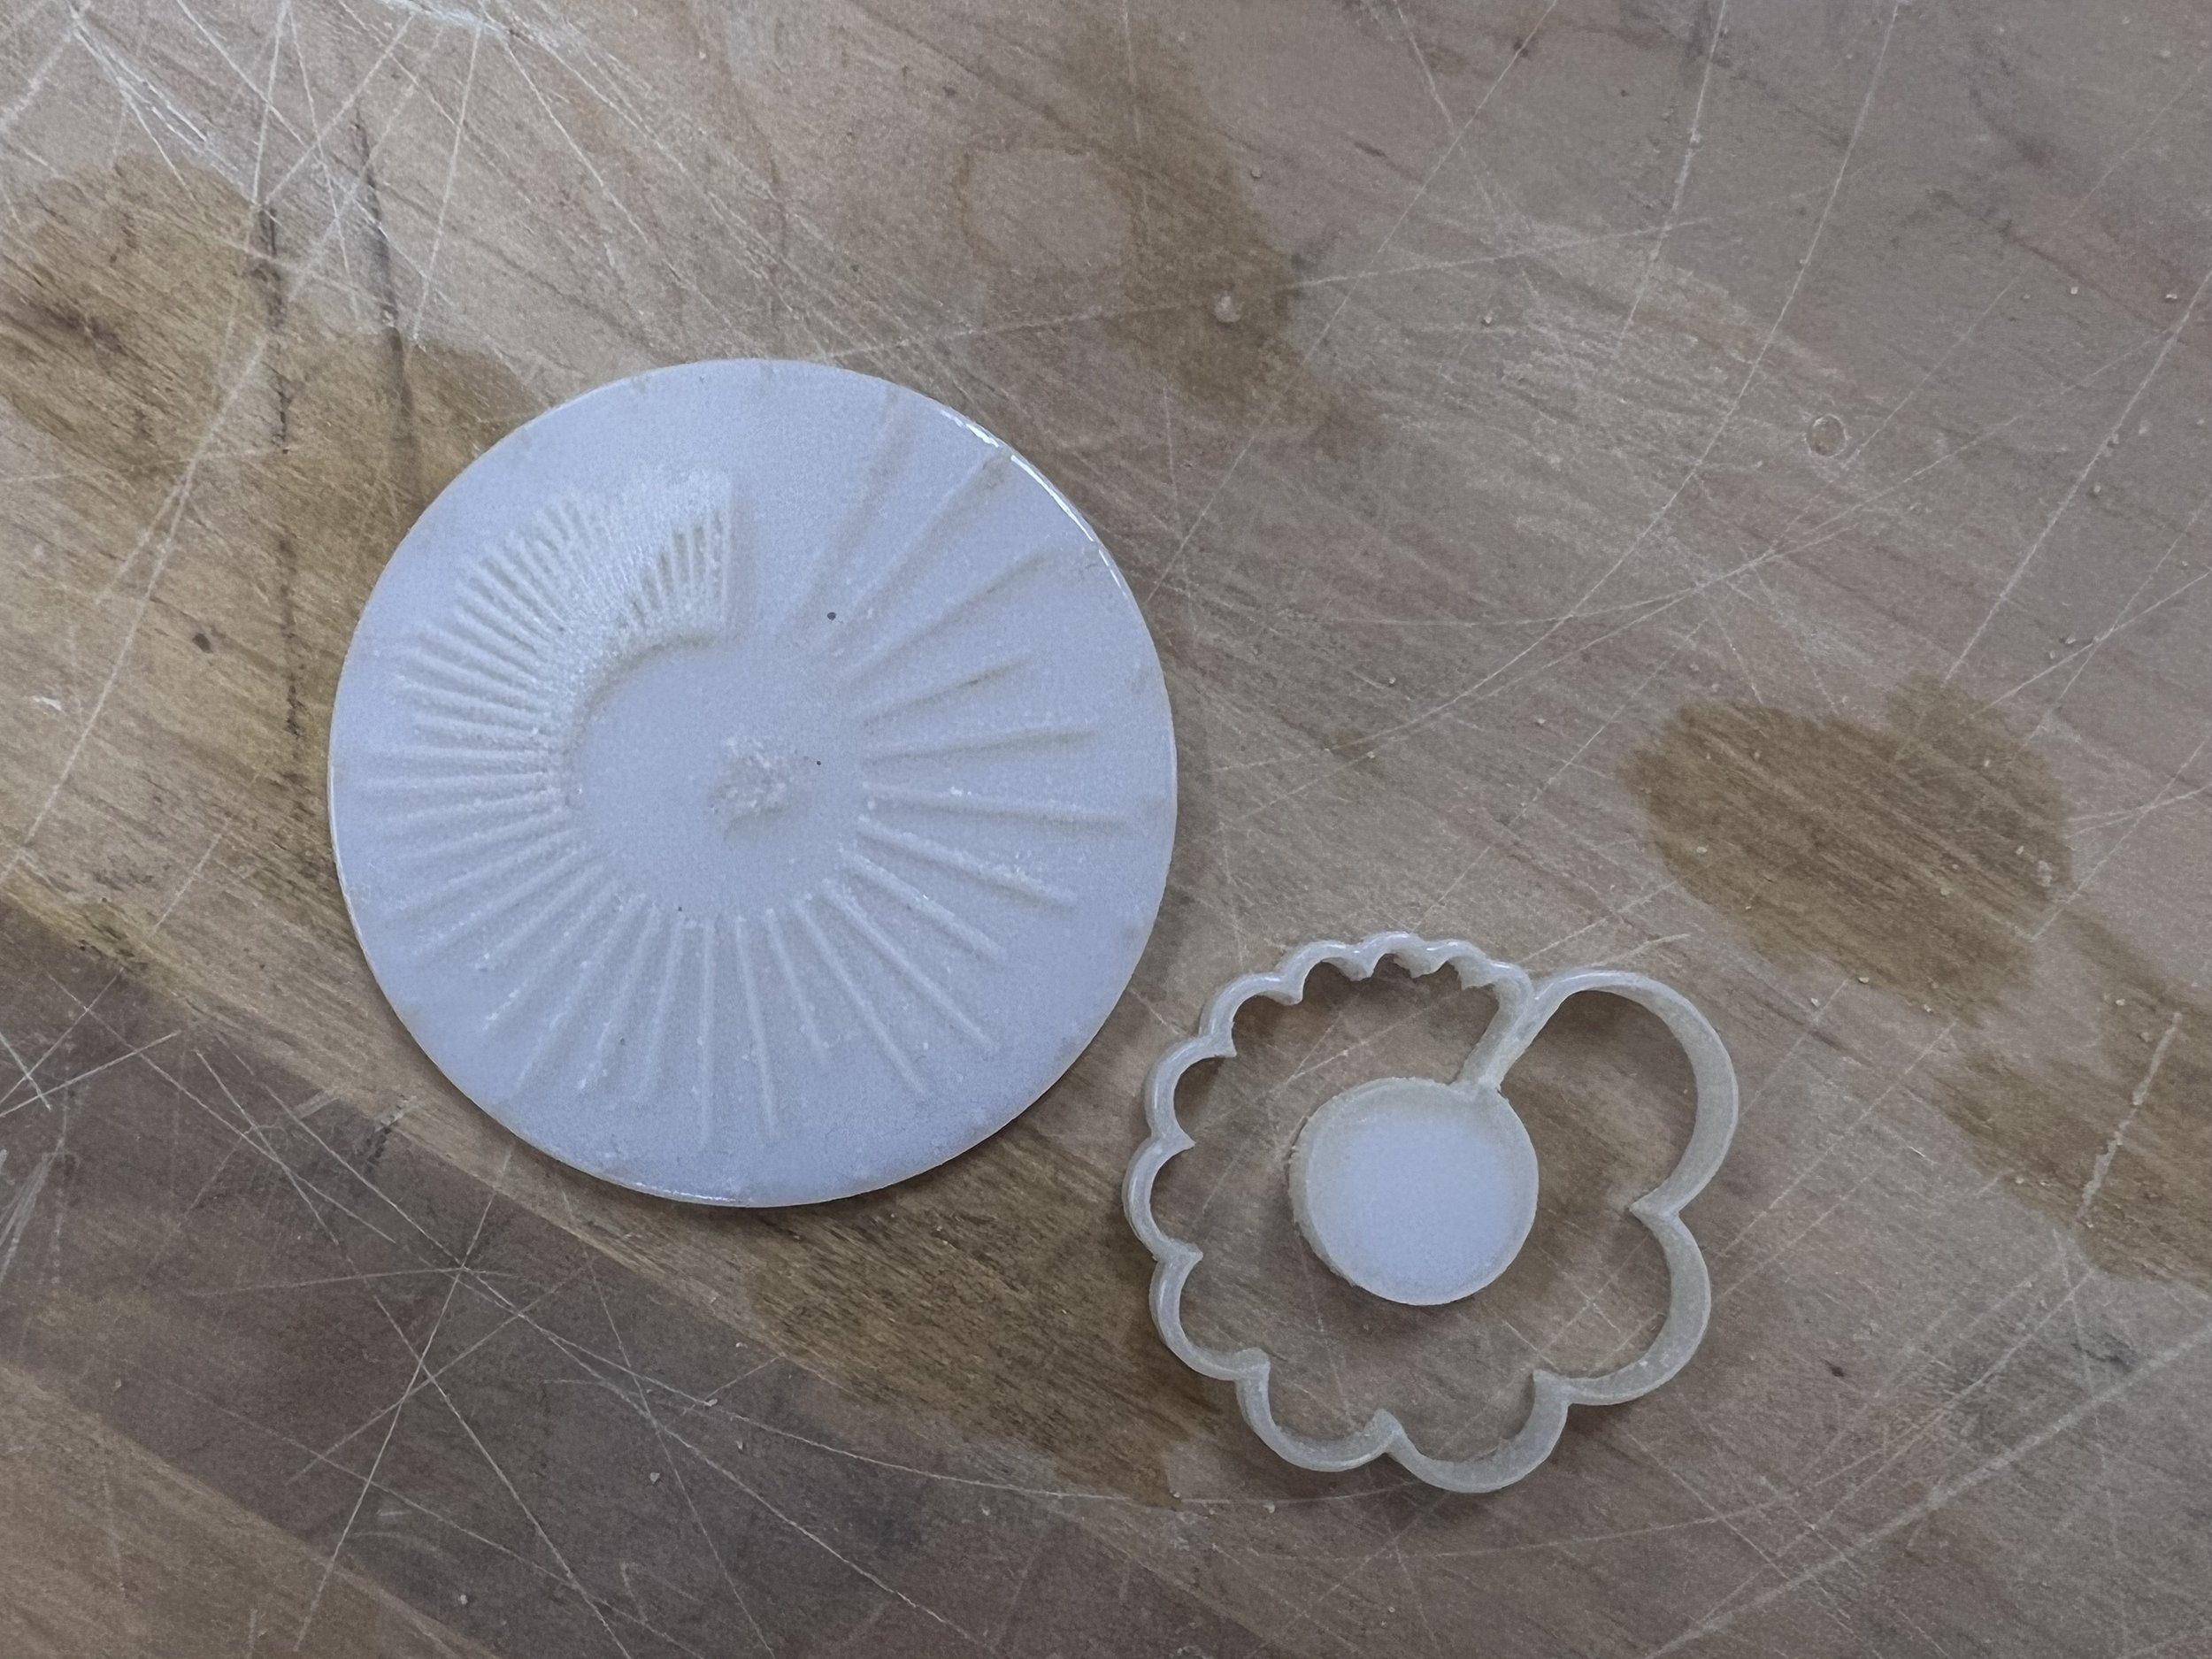
Pasta Stamp: Rose

Pasta Stamp: Rose Cutter
💡 Note the second step is a through cutting.
💡 In the second step, carefully align the bridging part between the center and edge with the largest gap between the lines in the stamped pasta sheet. See the step instruction below:

Steps (left to right): Stamp the sheeted dough with the “stamp: rose”; leave grooves on the sheeted dough; cut out the flower shape with the “stamp: rose small cutter”.
Fabrication Steps:
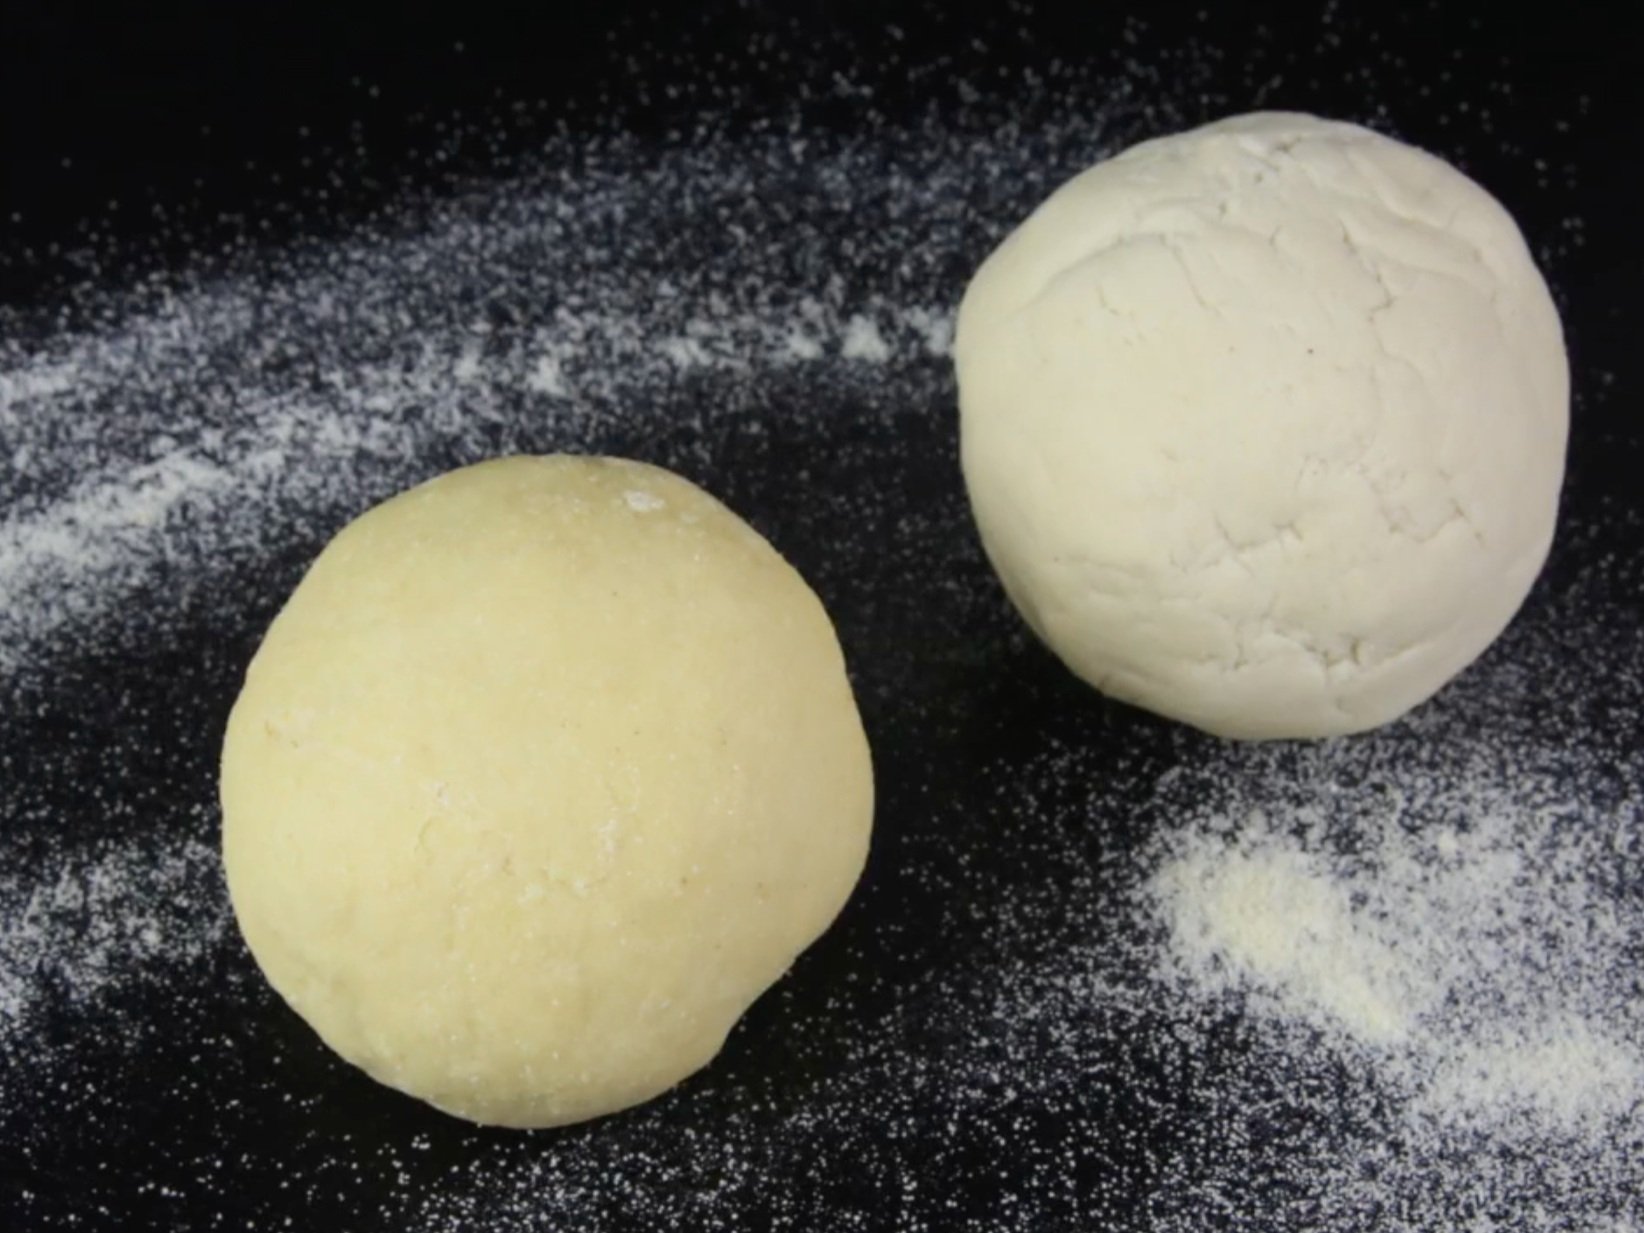
1. Knead the flour
2. Roll the dough
3. Groove the dough
4. Cut out the grooved shape
5. Cook the dough
6. See the morphing behavior
Step 1 - Knead the Flour
Mix the 65g Four with 170g water
Wear your Glove
Knead the flour for 20 minutes
💡 How to Knead effectively:
(i) Grasp the side of the dough furthest away from you and fold it in half, towards you. (ii) Place the heels of both hands on top of the dough and use your body weight to push the dough into itself. (iii) Sprinkle a little more flour onto the dough if too wet, and add a little water if too dry.
Step 2 - Roll the Dough
Go from Level 1 - 2 - 3 - 4 - 5
Roll 3 times for one level before proceeding to the next level
When finished rolling at Level 3, Level 4 and Level 5:
Use the Dough Cutter to Cut the dough into half. Use one half for the next step (Keep the other half for future use)
(💡 Spray some flour to the dough if it is too sticky)
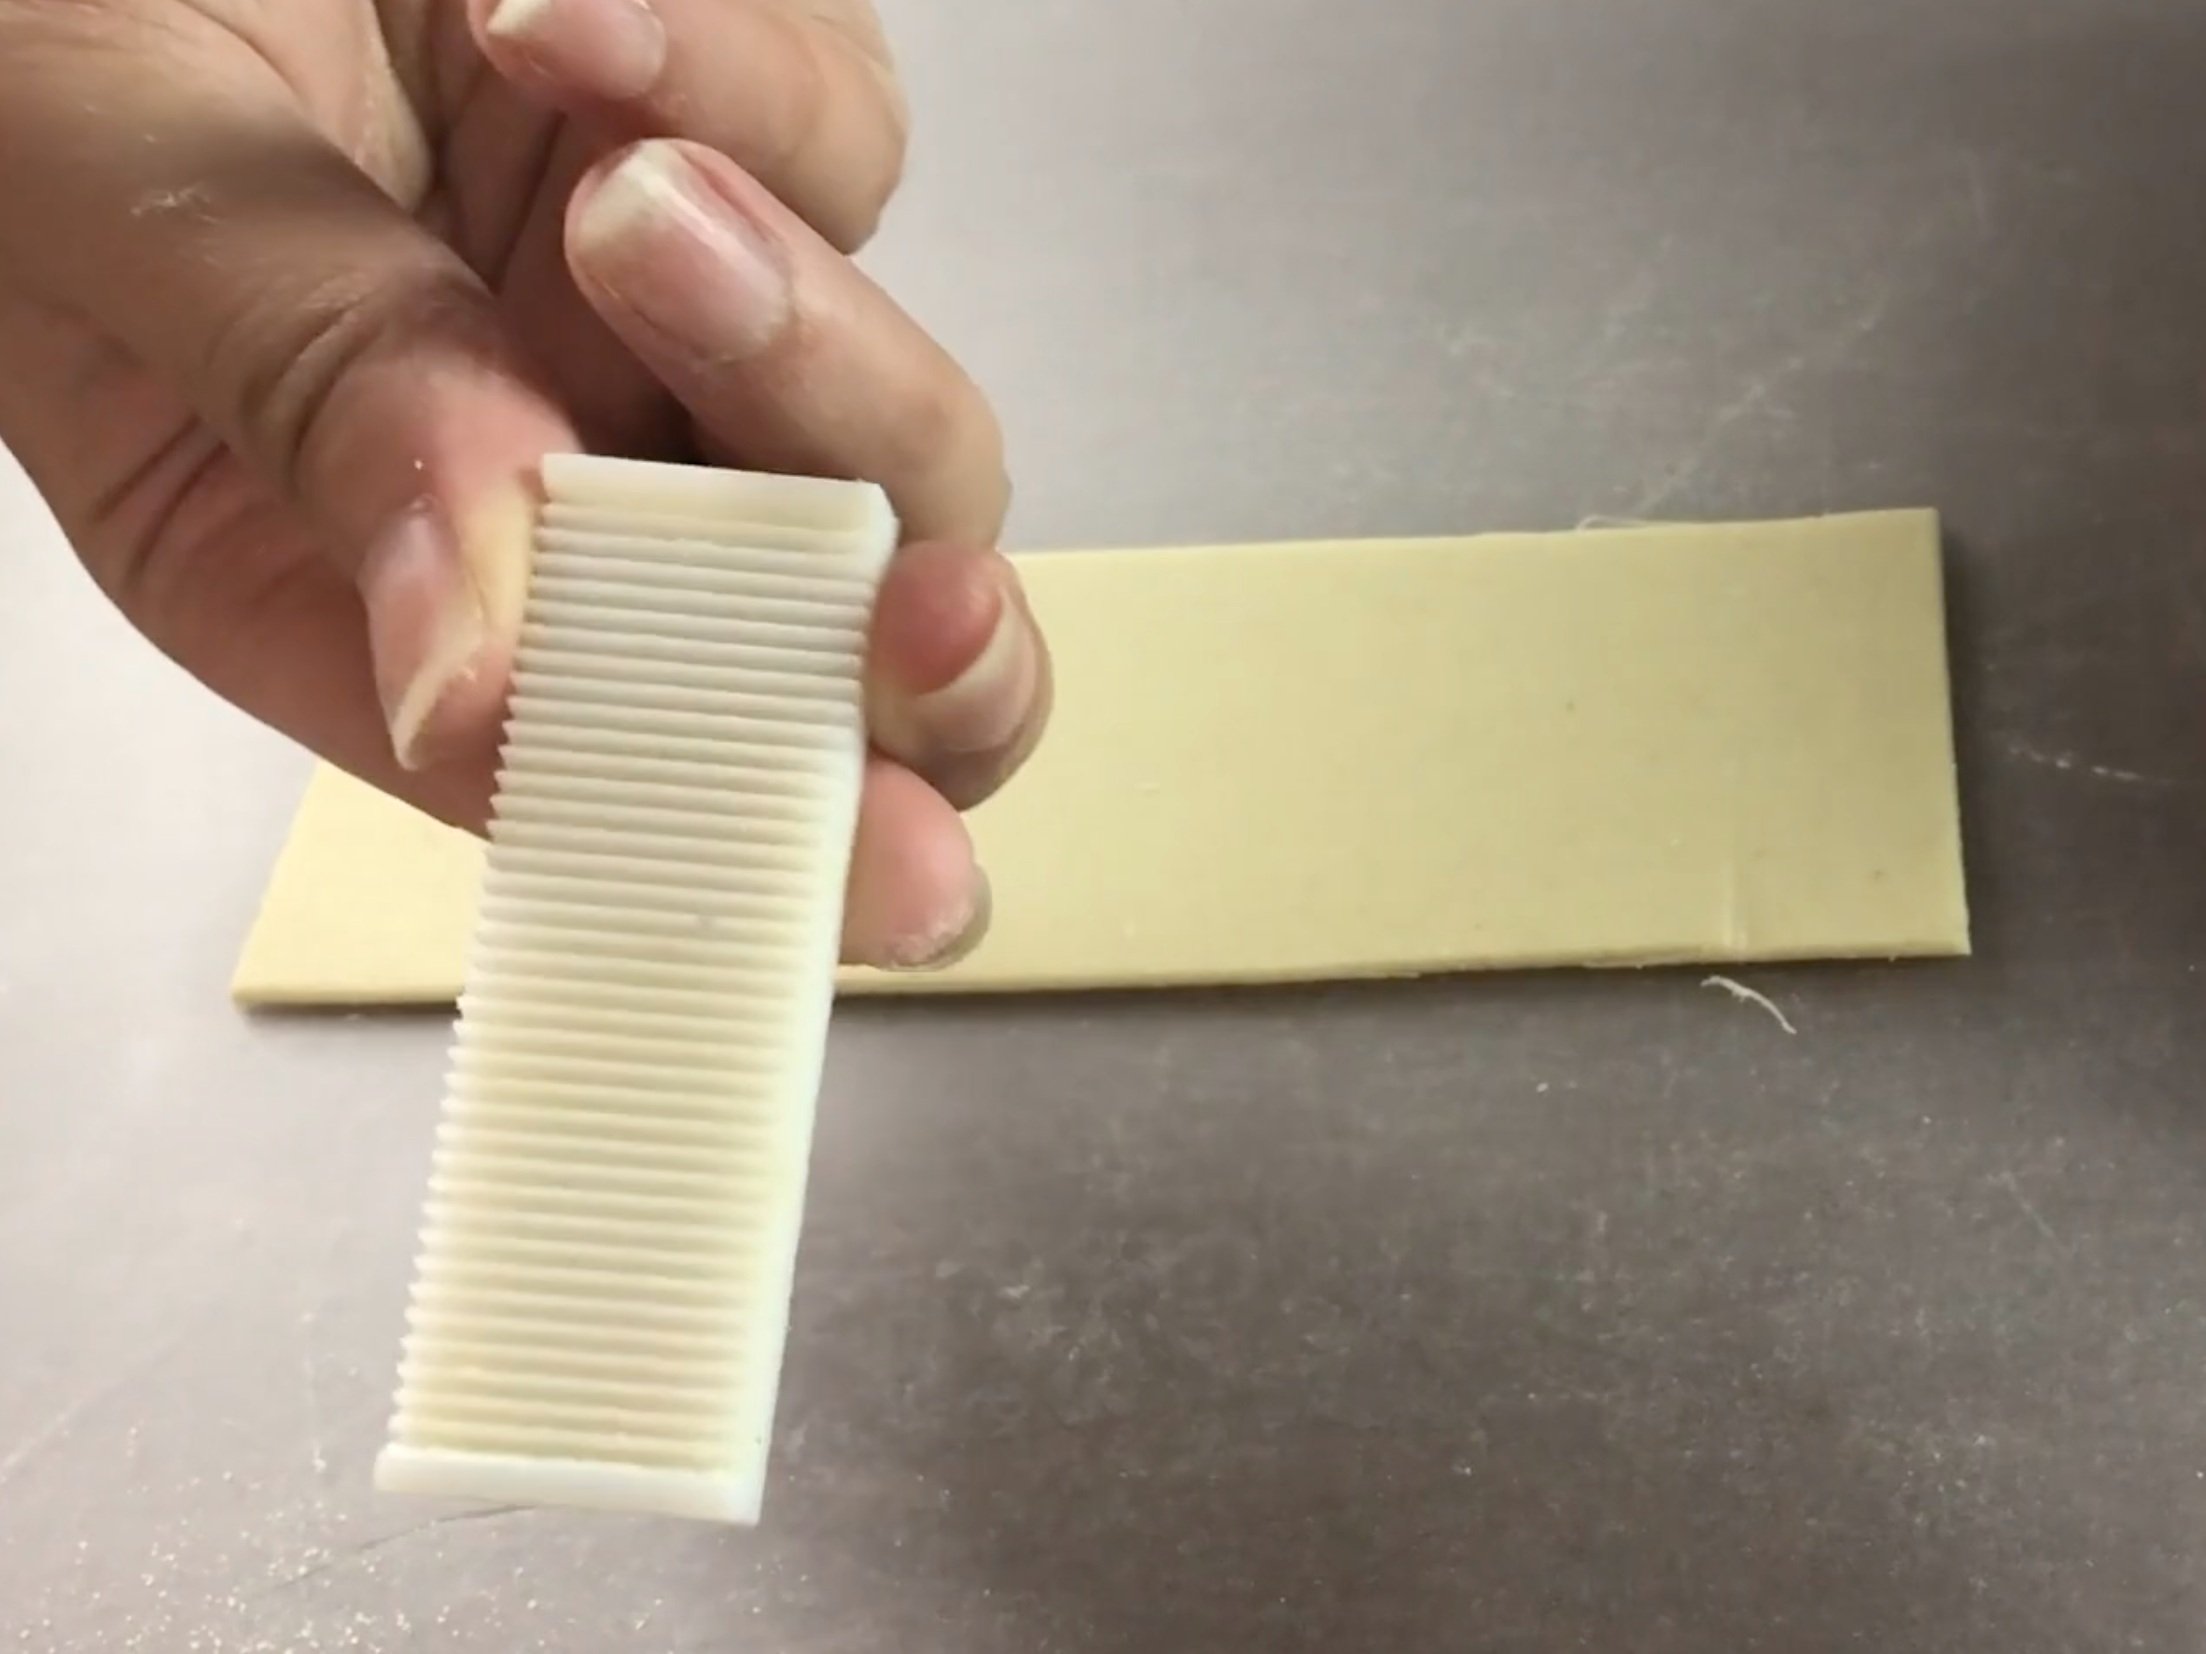
Step 3 - Groove the Dough
Press the Grooving Template onto the flat dough
💡 NOTE: if the dough is too dry, place it on the top of boiling water that you prepare for step 5!


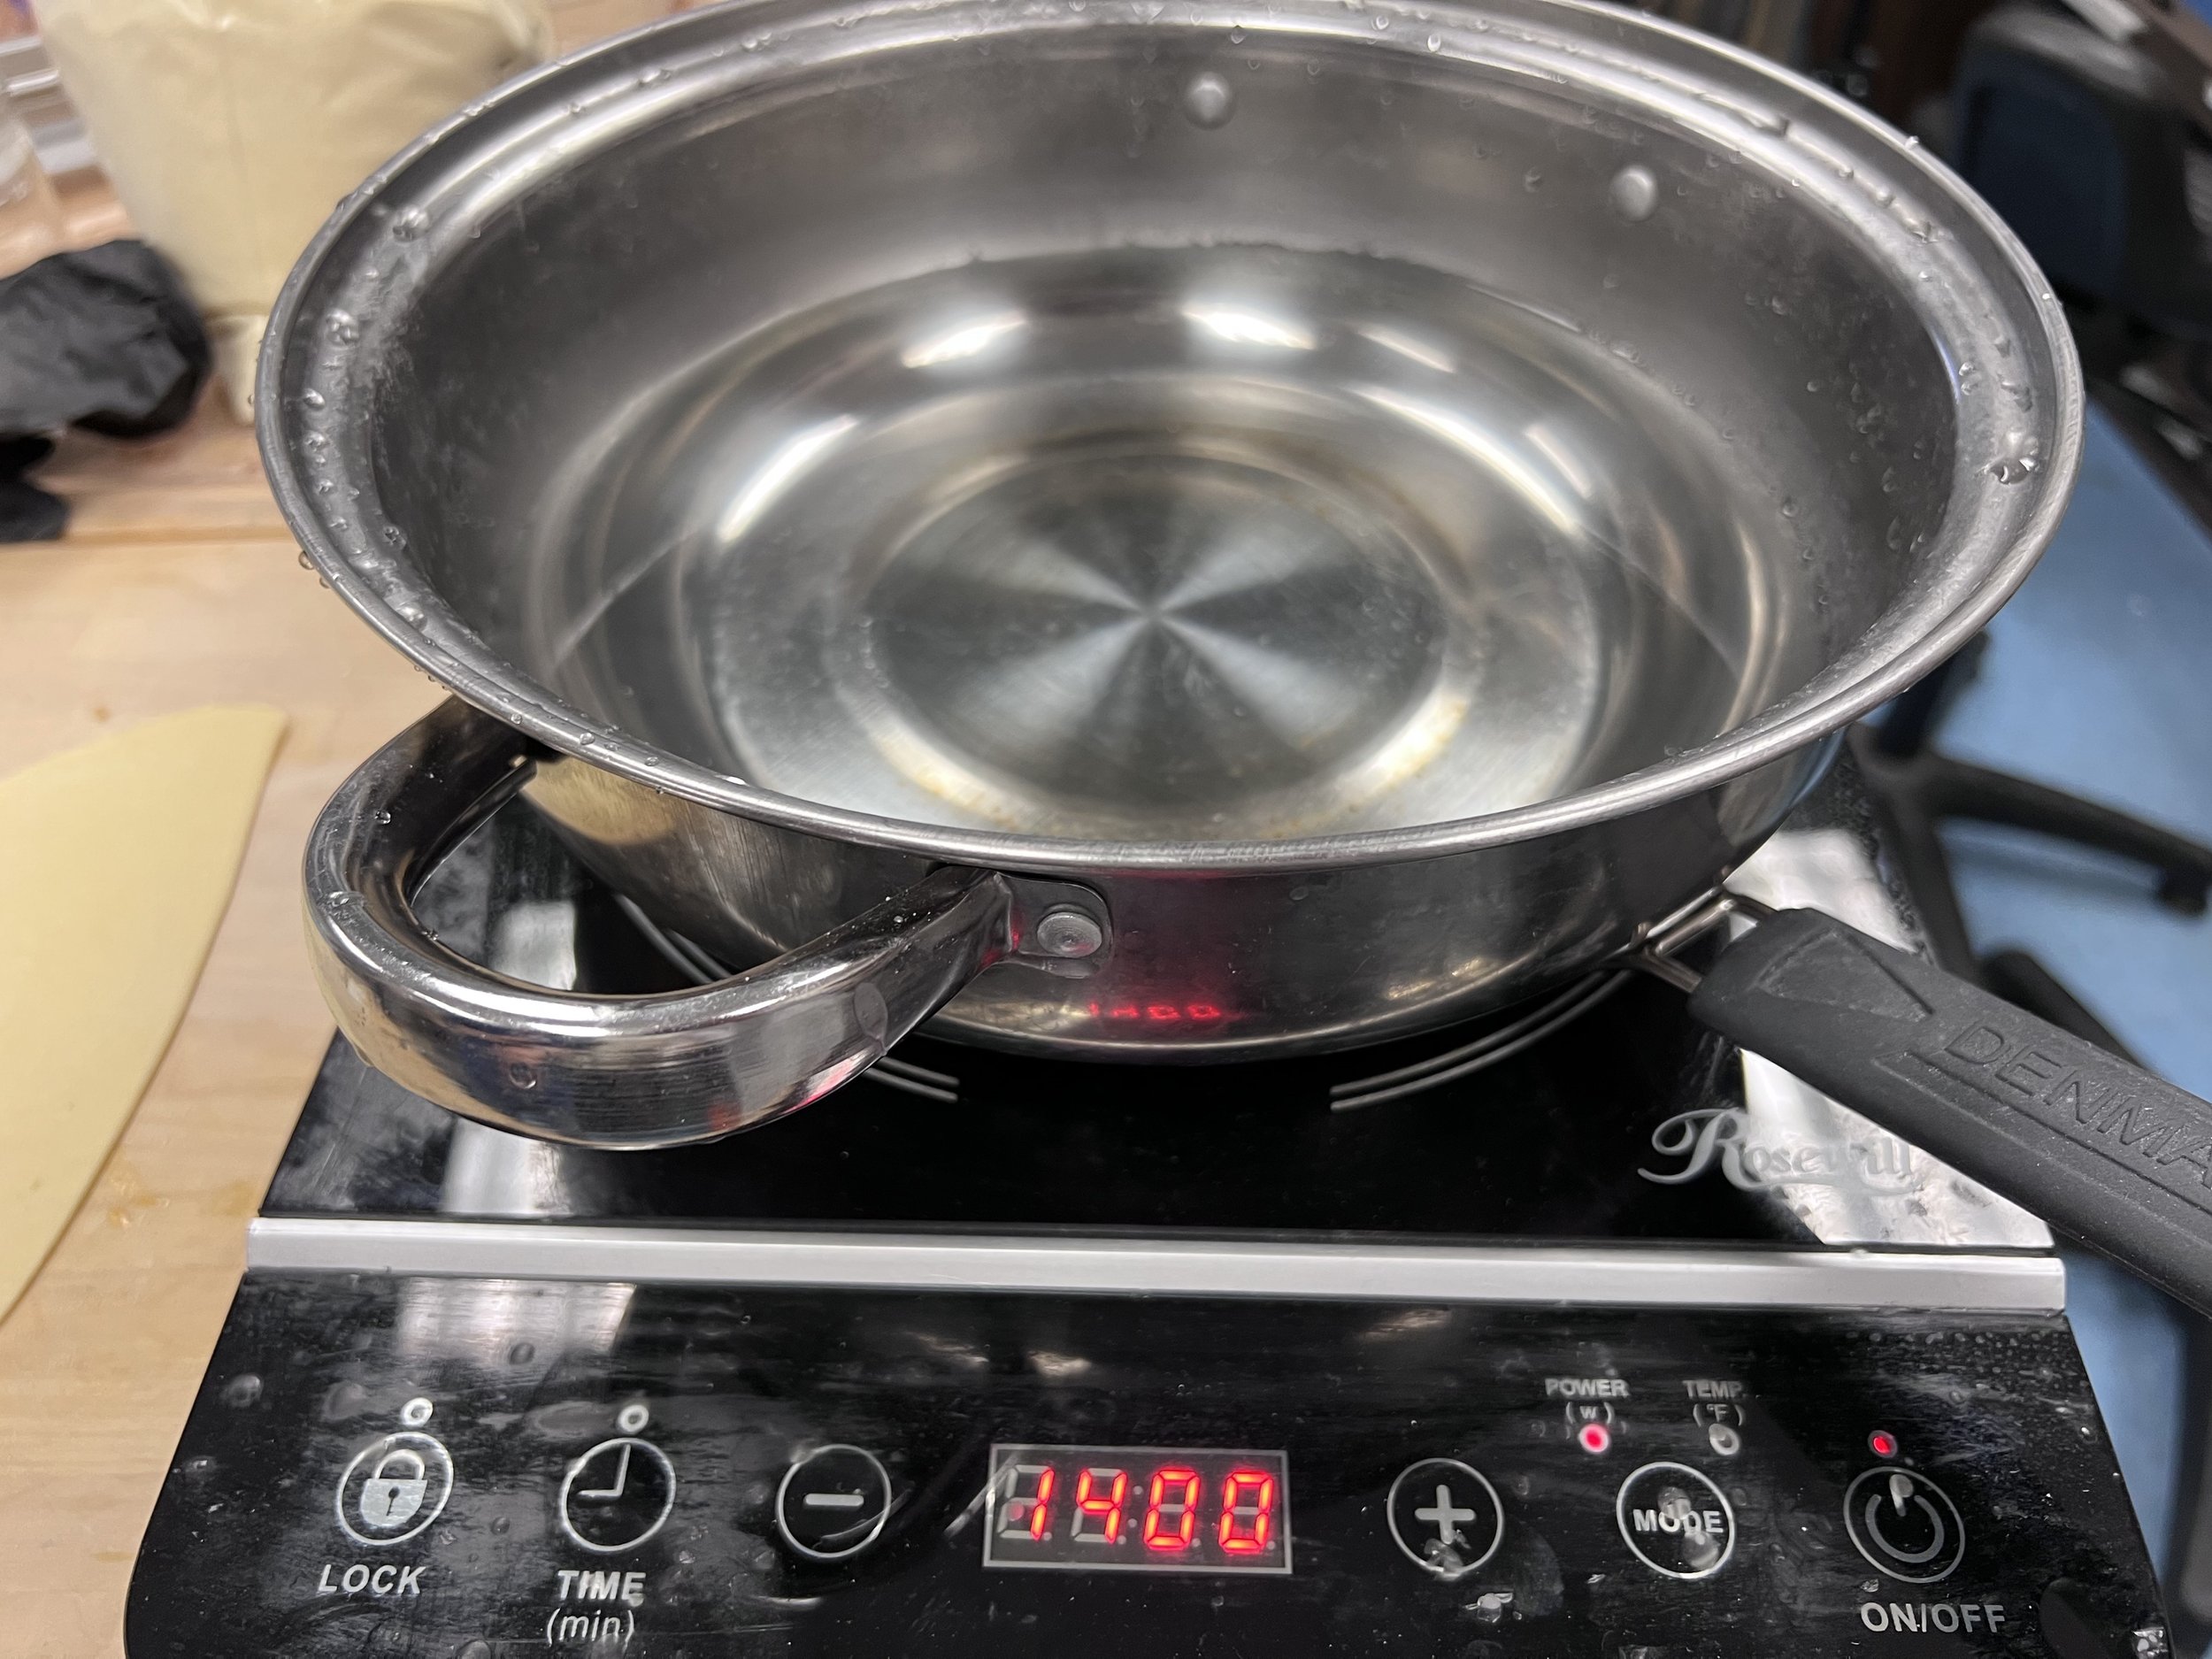
Step 4 - Cook the Dough
Use Dough Cutter to cut out the grooved shape carefully
Can start preparing boiling water for step 5
💡 NOTE: if the dough is too dry, place it on the top of boiling water that you prepare for step 5!


Step 5 - Cook the Dough
Drop the shapes into the boiling water carefully.
💡 Avoid the dough flipping side in water! The grooved pattern should always face the top in order to see its transformation.

Step 6 - Get your Morphing Pasta
You should be able to see the pasta shape change in boiling water, and make sure to take them out carefully!
Video Tutorials
Morphing Pasta - Frequently Asked Questions
-
The first thing to do is: be patient! Kneading pasta dough takes quite a lot of time and effort, so if it seems like it isn’t quite forming a ball, you may just need to work the dough for a couple more minutes. If you’ve been at it for a really long time and the dough still isn’t coming together, you can add a very small amount of water (i.e. a few drops) and continue kneading)
-
The main trick to prevent sticking is to lightly flour your template every time before you press it into the pasta. Make sure to tap the template against a flat surface to get rid of excess pasta that may clog the grooves though.
-
Most of the time, this is caused by the grooves not being deep enough. The templates are designed in a way such that you won’t cut all the way through the pasta, even if you press really hard, so don’t be afraid to put a lot of pressure on it while you’re grooving.
-
If your sheets become too dry from sitting out on your board for too long, you can re-hydrate them slightly with steam, making it easier to groove them again.
The Science Behind Morphing Pasta:
Why Morph?
When pasta dough is grooved and cooked in boiling water, the surface of the grooves begin to swell at a higher rate than the center of the grooves. This difference in swelling rate forces the pasta to curl inwards in the direction of the grooved side. When the grooves touch each other, the pasta surface secretes amylopectin, causing the grooves to adhere and strengthening the morphed shape.

Morphing pasta with curled grooves (left) will turn into a Helix Shape (right)
Controlling the Morphing Behavior:
Changing factors like width, height, distance, and angle of grooves can vastly affect the morphing behavior. For example, rather than perpendicular groove on a strip of pasta, angling the grooves slightly can cause the pasta to curl into a helix shape.
The Morphing Process Diagram:

Project Examples