FlexTure: Dynamic Surface Features

Overview
FlexTure, a method for creating pop-up kirigami structures with a selectively bonded bilayer. These surfaces enable a new design space for accessible and rapid prototyping of dynamic surfaces. Using a flexible material selectively attached to a stretched substrate, we can create metamaterial surfaces that change texture.
💡This page contains all the information you need to get started. If you are interested in more in-depth/technical details, you may check out this video and an academic paper published by Morphing Matter Lab at Carnegie Mellon University.
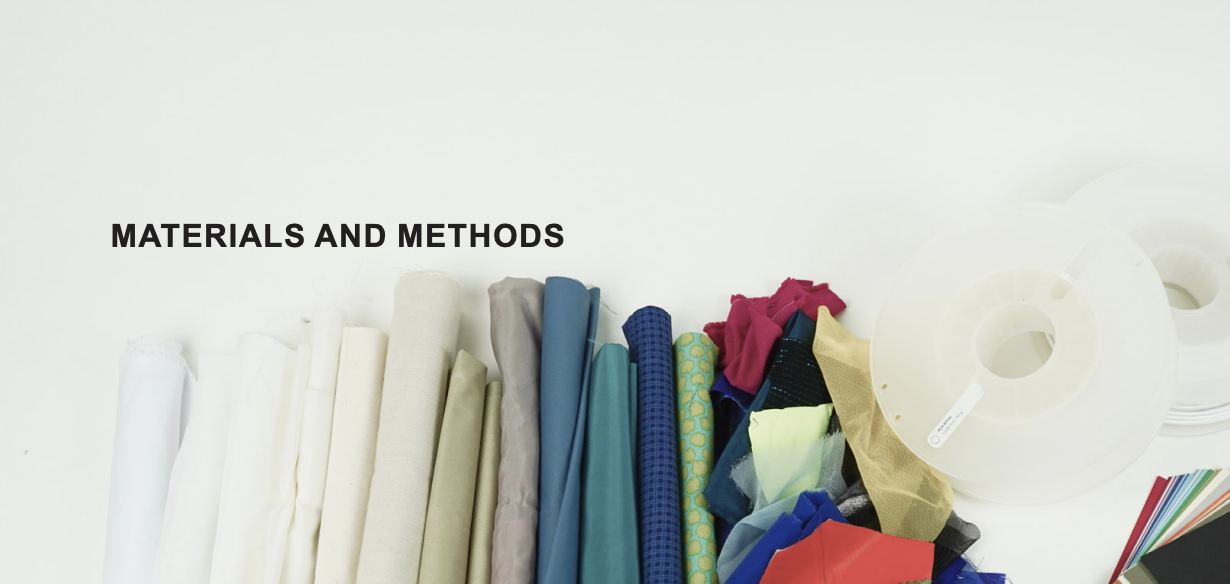
Materials and Tools You Need
Lists:
Top Layer:
Top Layer
fabric (TPU-coated fabrics)
papers
thin plastic sheets
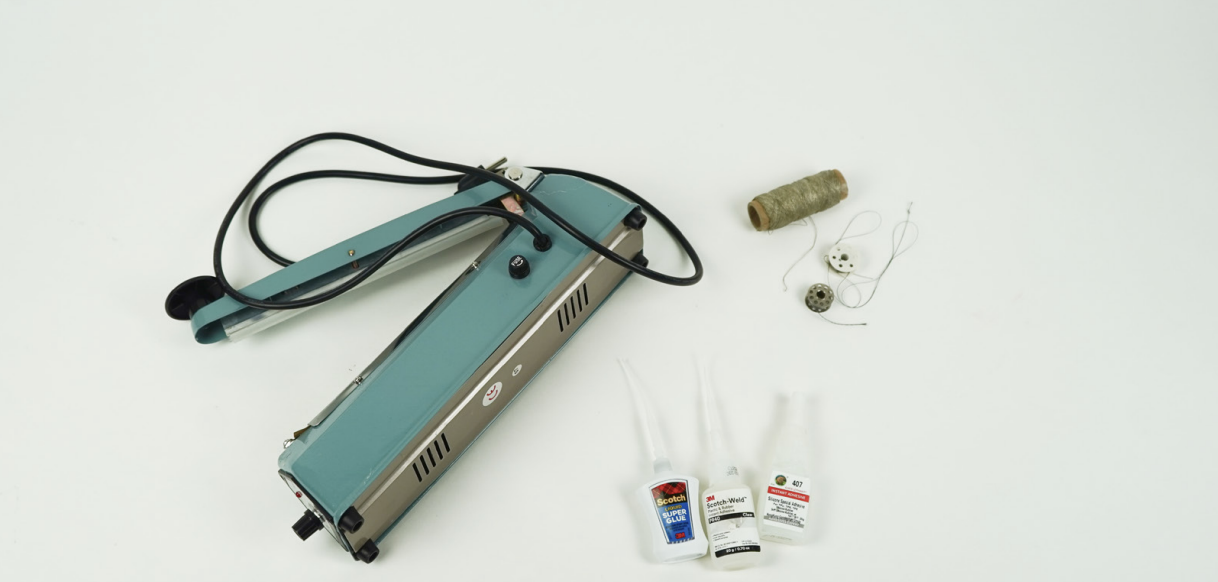
Bonding Layer
Super glue
Heat sealer
Needle and thread
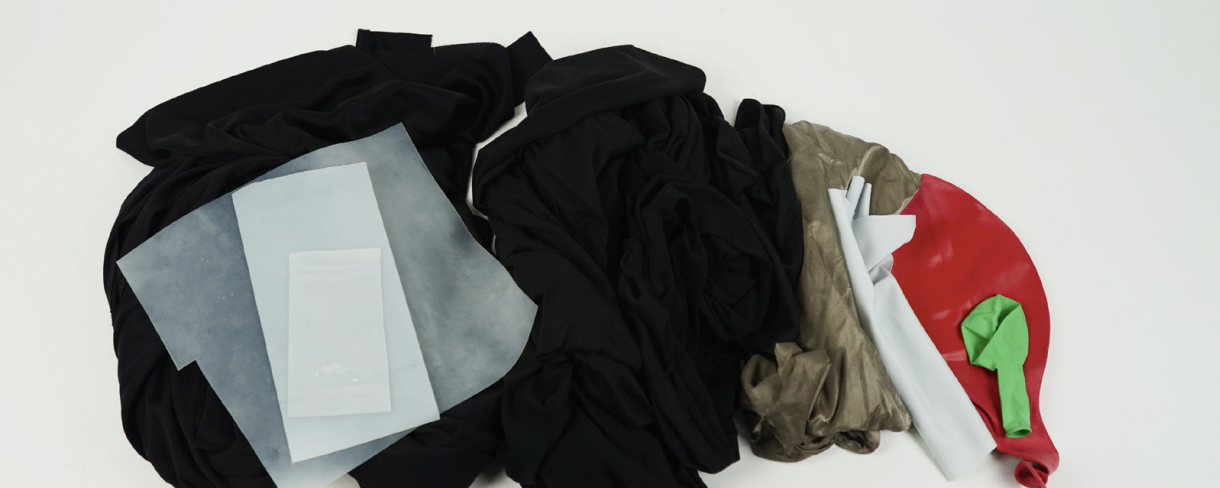
Contracting Layer
Elastic fabric
Silicone sheet
Actuator
Motorized linear stages
Motorized spindles/drums
💡Top layer: The top buckling layer requires a thin sheet material that can be easily and precisely perforated. The sheet requires some stiffness: too deformable of a material prevents the perforated features from actuating and a linear wrinkling will occur. Our explorations used laser-cut fabrics, papers and plastics, as well as 3D-printed TPU and PLA sheets. We found that thin, stiff fabrics fabrics that were either composed of or coated with synthetic polymers, such as polyester or TPU-coated fabric tended to cut and deform well, whereas most papers that we tried would permanently deform after a few actuation cycles or hand contact.
Bonding Layer: For bonding the top and bottom layers together, we found that heat sealing and manual adhesive application (cyanoacrylate glue) were most successful. Due to the plastic content in elastic fabrics, they can be heat-sealed to a range of top sheet materials. For textile applications, sewing along the bonding lines is recommended.
Contracting Layer: Uniform contraction of the bottom layer is needed for an even and successful actuation of the surface features. We found that elastic materials such as elastic fabric and silicone worked particularly well.
Actuation :The primary methods that we found successful during our exploration included motorized linear stages and motorized spindles/drums. These can be easily controlled and integrated with a microcontroller and power supply.
Try it! To try out one of these surface features yourself, print out this document, cut along the dotted lines, place it on a flat surface, and push the shaded areas together. You can try shaping or modifying the cut line and shape to see the different possible visual and physical effects!


Overview - Fabrication Steps:
1. Designing the Pattern
2. Laser Cutting the Top Layer
3. Stretching the Bottom Layer and Get Ready to Seal with the Top Layer
4. Sealing the Top and Bottom Layer
5. Actuating the Sample

Step 1 - Designing the Pattern
After outputting a DXF file from our Rhino3D tool, the paths can be placed and scaled in a manufacturing program. In this case, we used xTool Creative Space to generate machine files for laser cutting.

Step 2 - Laser Cutting the Top Layer
The top sheet is manufactured using a laser cutter, 3D printer, CNC cutter, or similar. We used an xTool desktop laser cutter for many samples in our exploration.

Step 3 - Stretching the Bottom Layer and Get Ready to Seal with the Top Layer
The elastic bottom sheet is stretched to the desired stretch rate and clamped. Once the perforated top sheet is aligned the two sheets can be bonded or sealed together. We assembled a rig using aluminum extrusion to fix the sample surface in place.

Step 4 - Sealing the Top and Bottom Layer
Our exploration used a row-by-row heat sealing system, with the sealer able to translate side-to-side along rails. In situations where more precise adjustment is necessary, a CNC adhesive application or heat sealing could improve the speed, precision, consistency, and strength of the attachment.

Step 5 - Actuating the Sample
The sample is then fixed at the ends for its intended use, allowing the surface’s overall contraction to be controlled, tuned, and/or automated. In this example, the sample is attached to a lead screw driven by a DC motor, with 3D-printed clamps to fix the sample ends to the actuator stages.
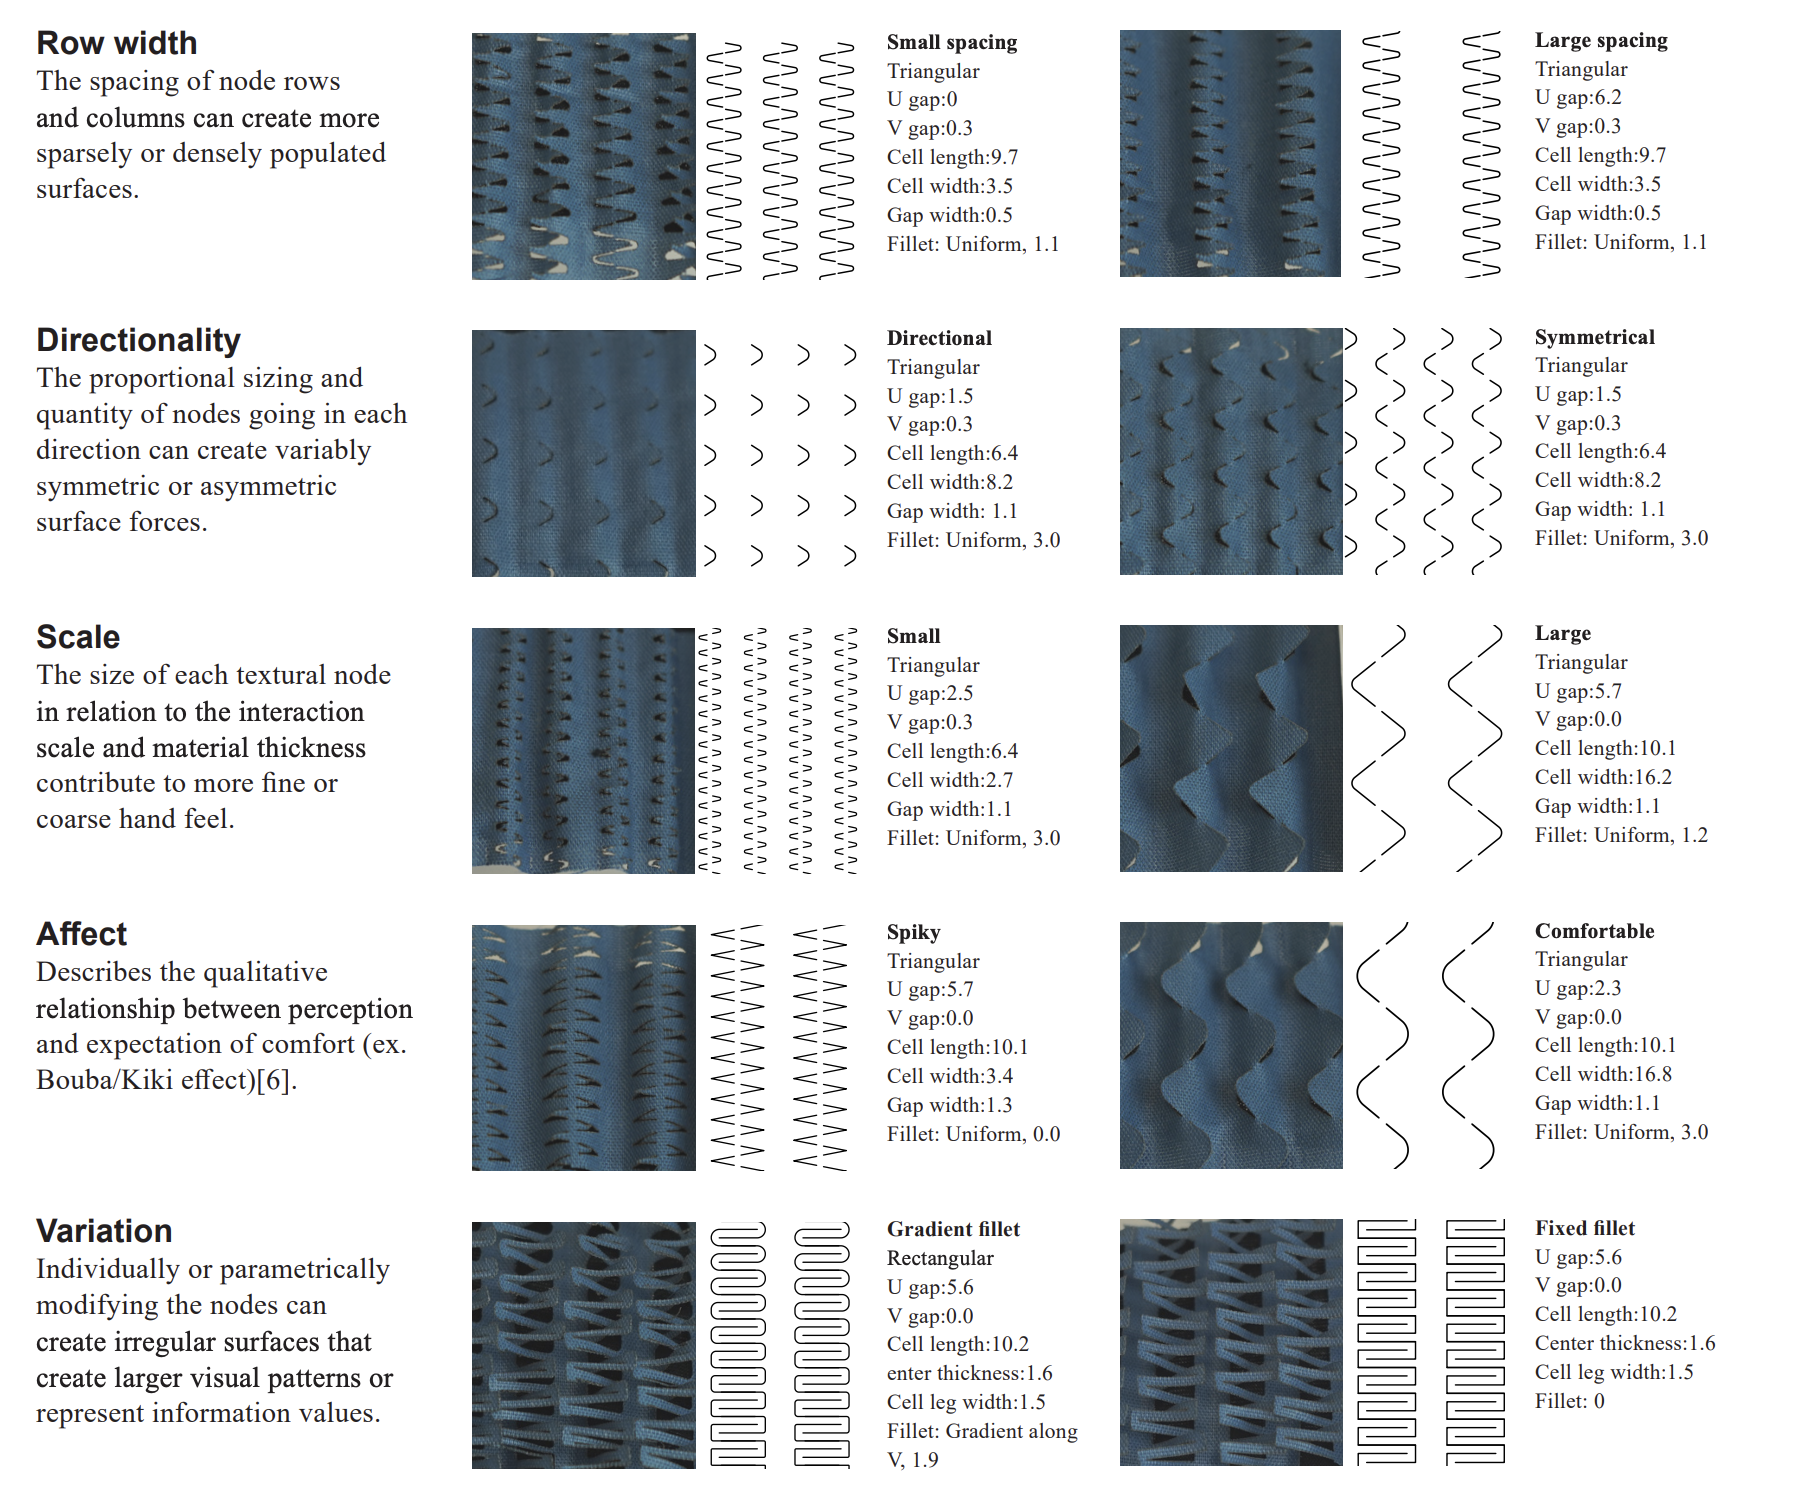
Design Principles
Along with the materiality of the surfaces, the perforations are crucial for designing a visuo-haptic experience. The appearance and hand feel of these surface features combine to create a textural aesthetic. We provide some factors that inform the mechanical and visual performance of these surfaces

Controlling the Pattern:
The proportional value of these different measurements, in conjunction with the material selection, allow for the precise tunability of the visuo-haptic experience. The numerical values listed by the patterns can be used with the following digital design tool to replicate and modify the surfaces shown here. We use the axes V and U to describe dimensional changes in two directions, with the shaded regions representing the dimensioned areas.