DIY Inflatable Fashion

Overview
Inflatable Fashion incorporates pneumatic technology that uses heat-sealing turns 2D flat materials into 3D airbag shapes. We aim to enlarge the design space for shape-changing materials, and inspire creativity and STEM-learning experience within younger generation.
💡This page contains all the information you need to get started. If you are interested in more in-depth/technical details, you may check out this video and an academic paper and conference presentation published by Morphing Matter Lab at Carnegie Mellon University.
🐰 Inflatable Bunny Hat Video Tutorial
💡 Watch it to get an idea before you start
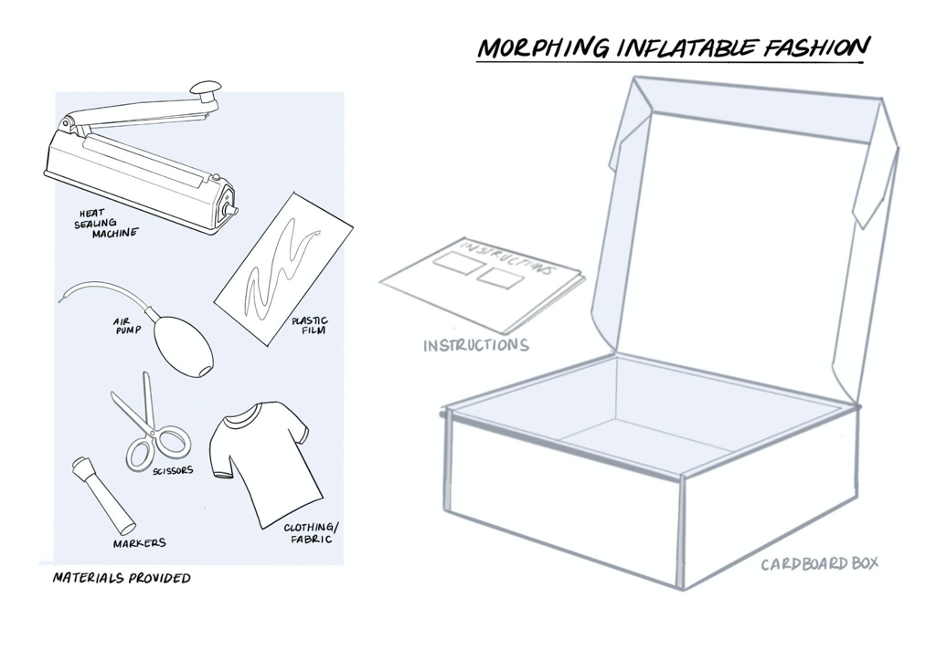
Materials and Tools You Need
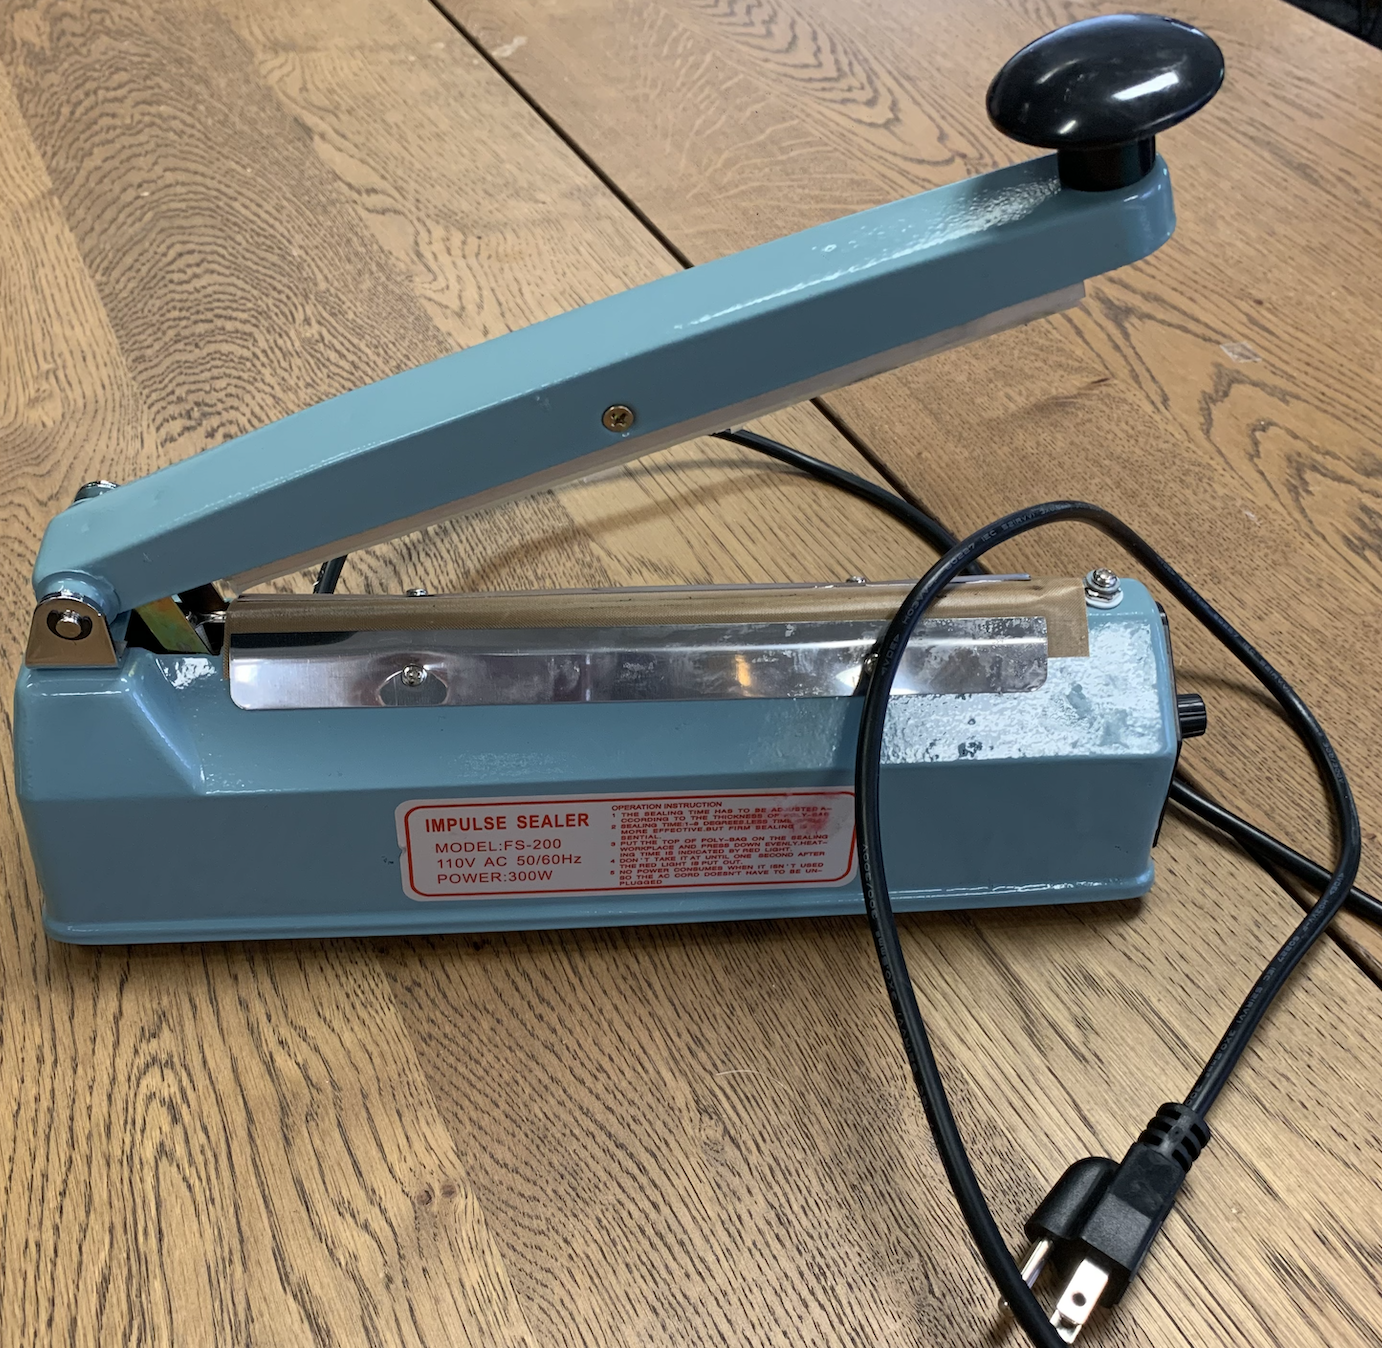
Heat Sealing Machine
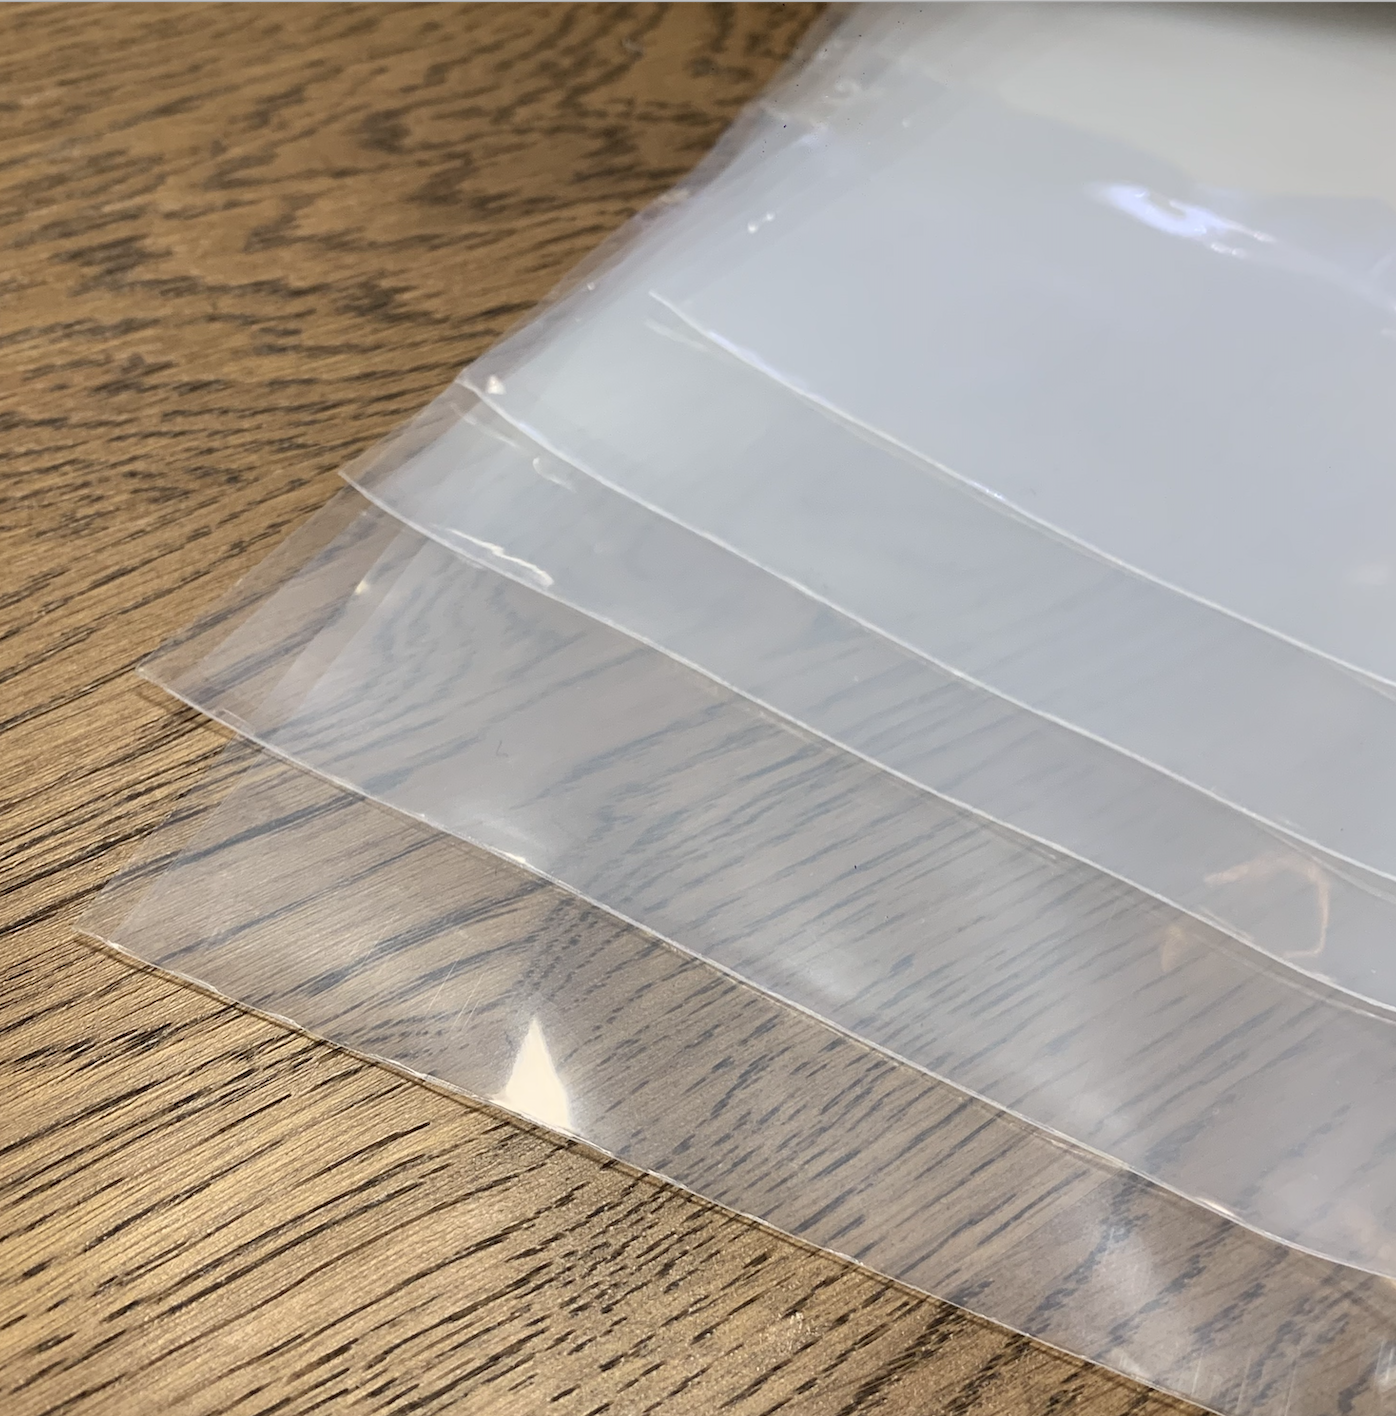
Plastic Film Sheet
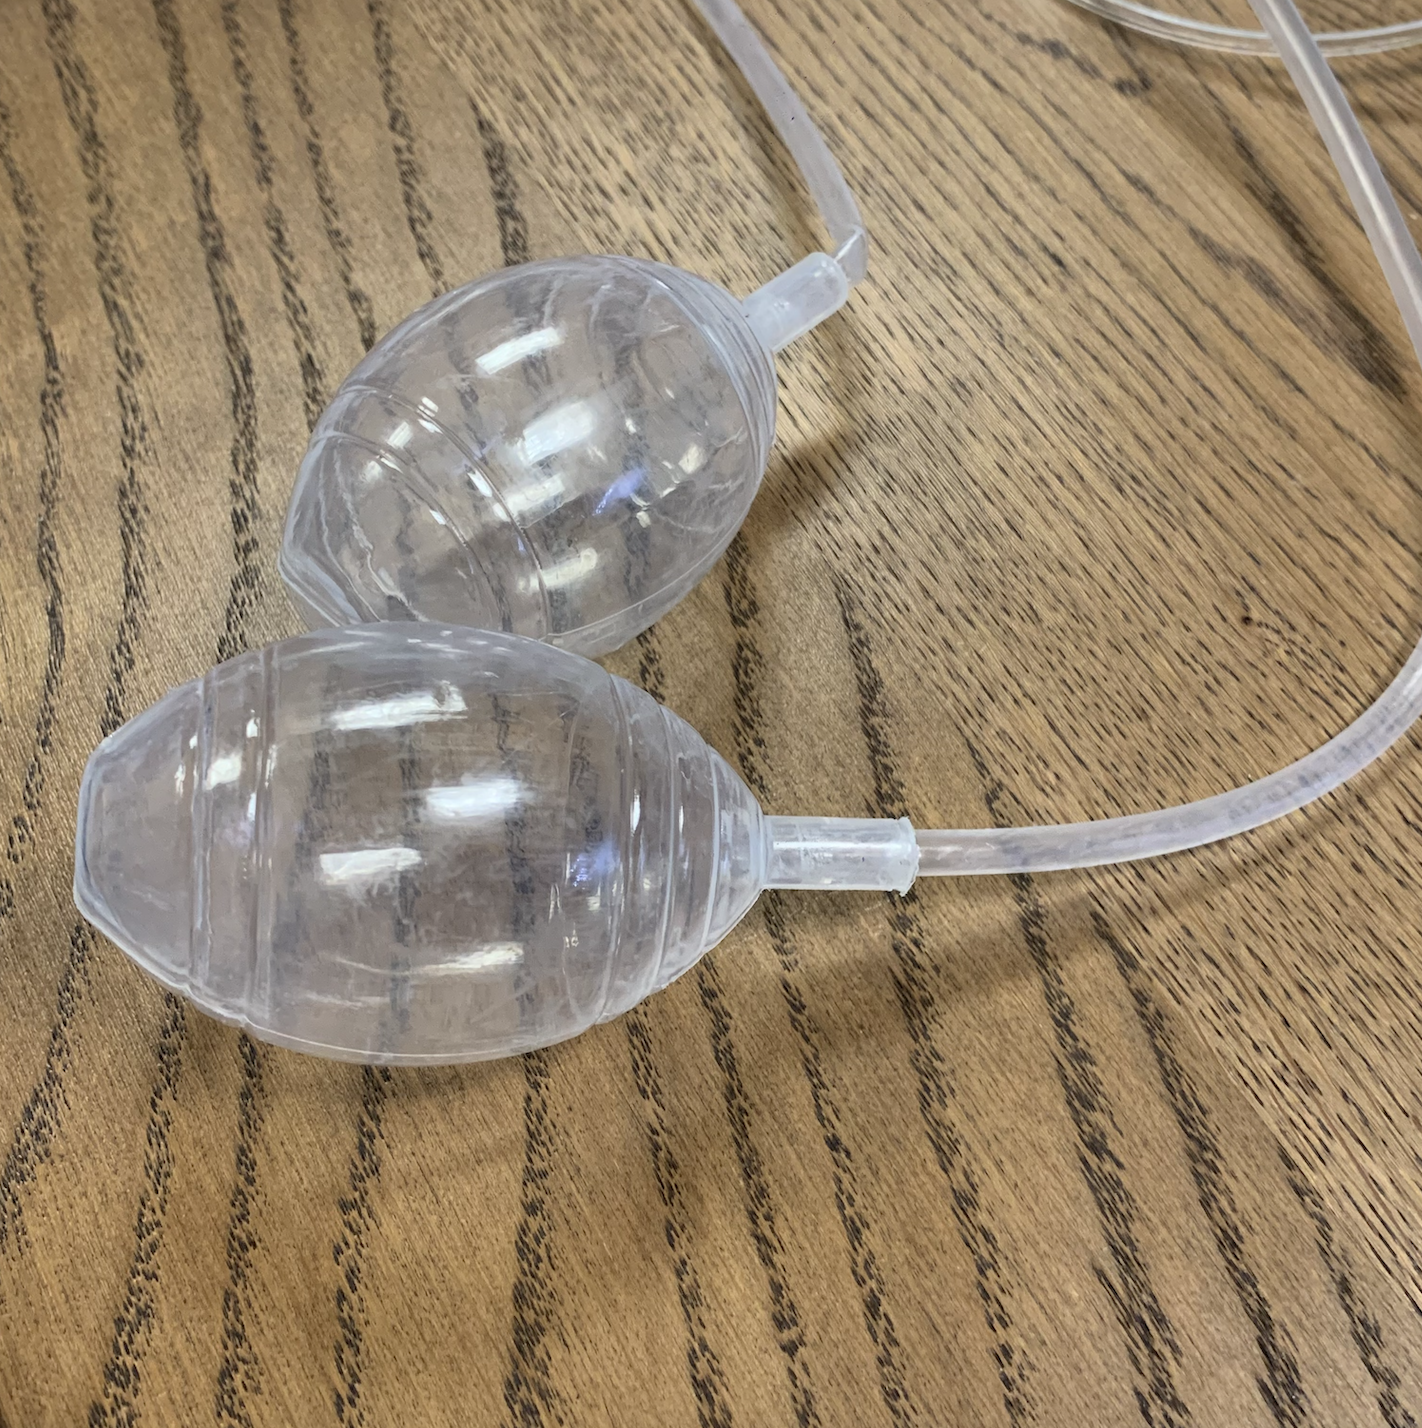
Air Pump (actuator)
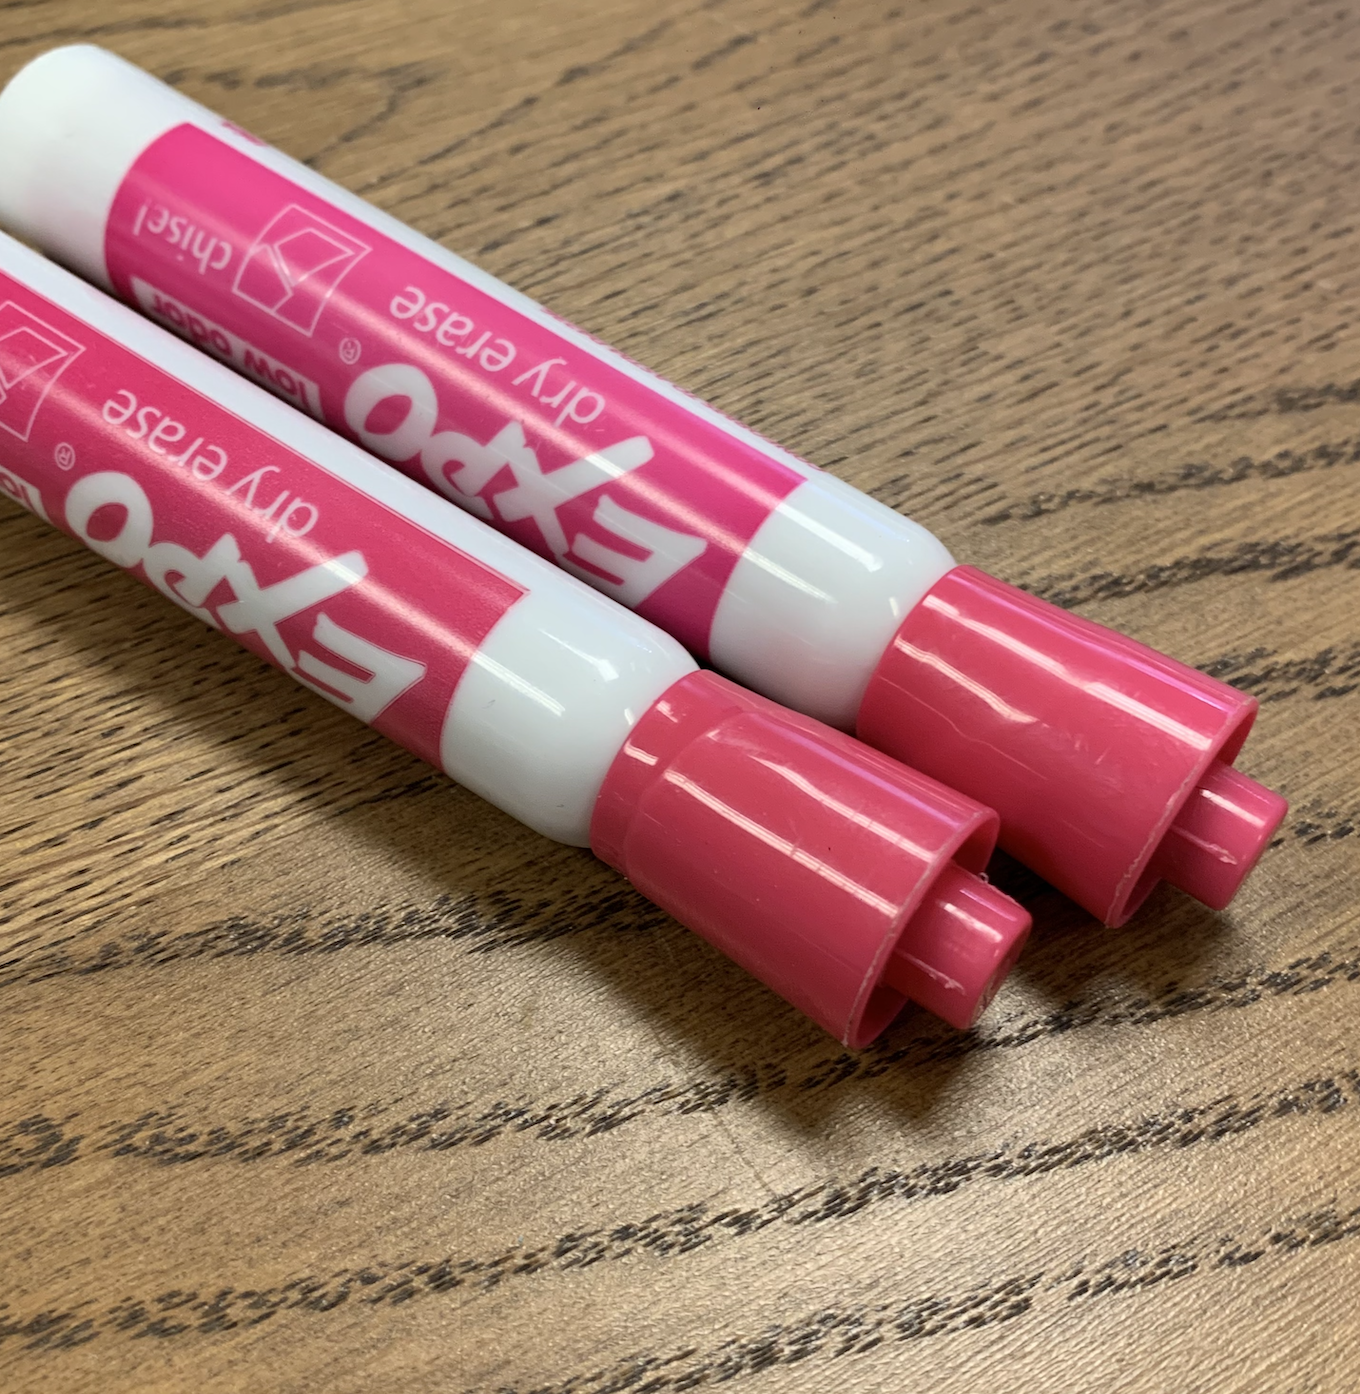
Marker
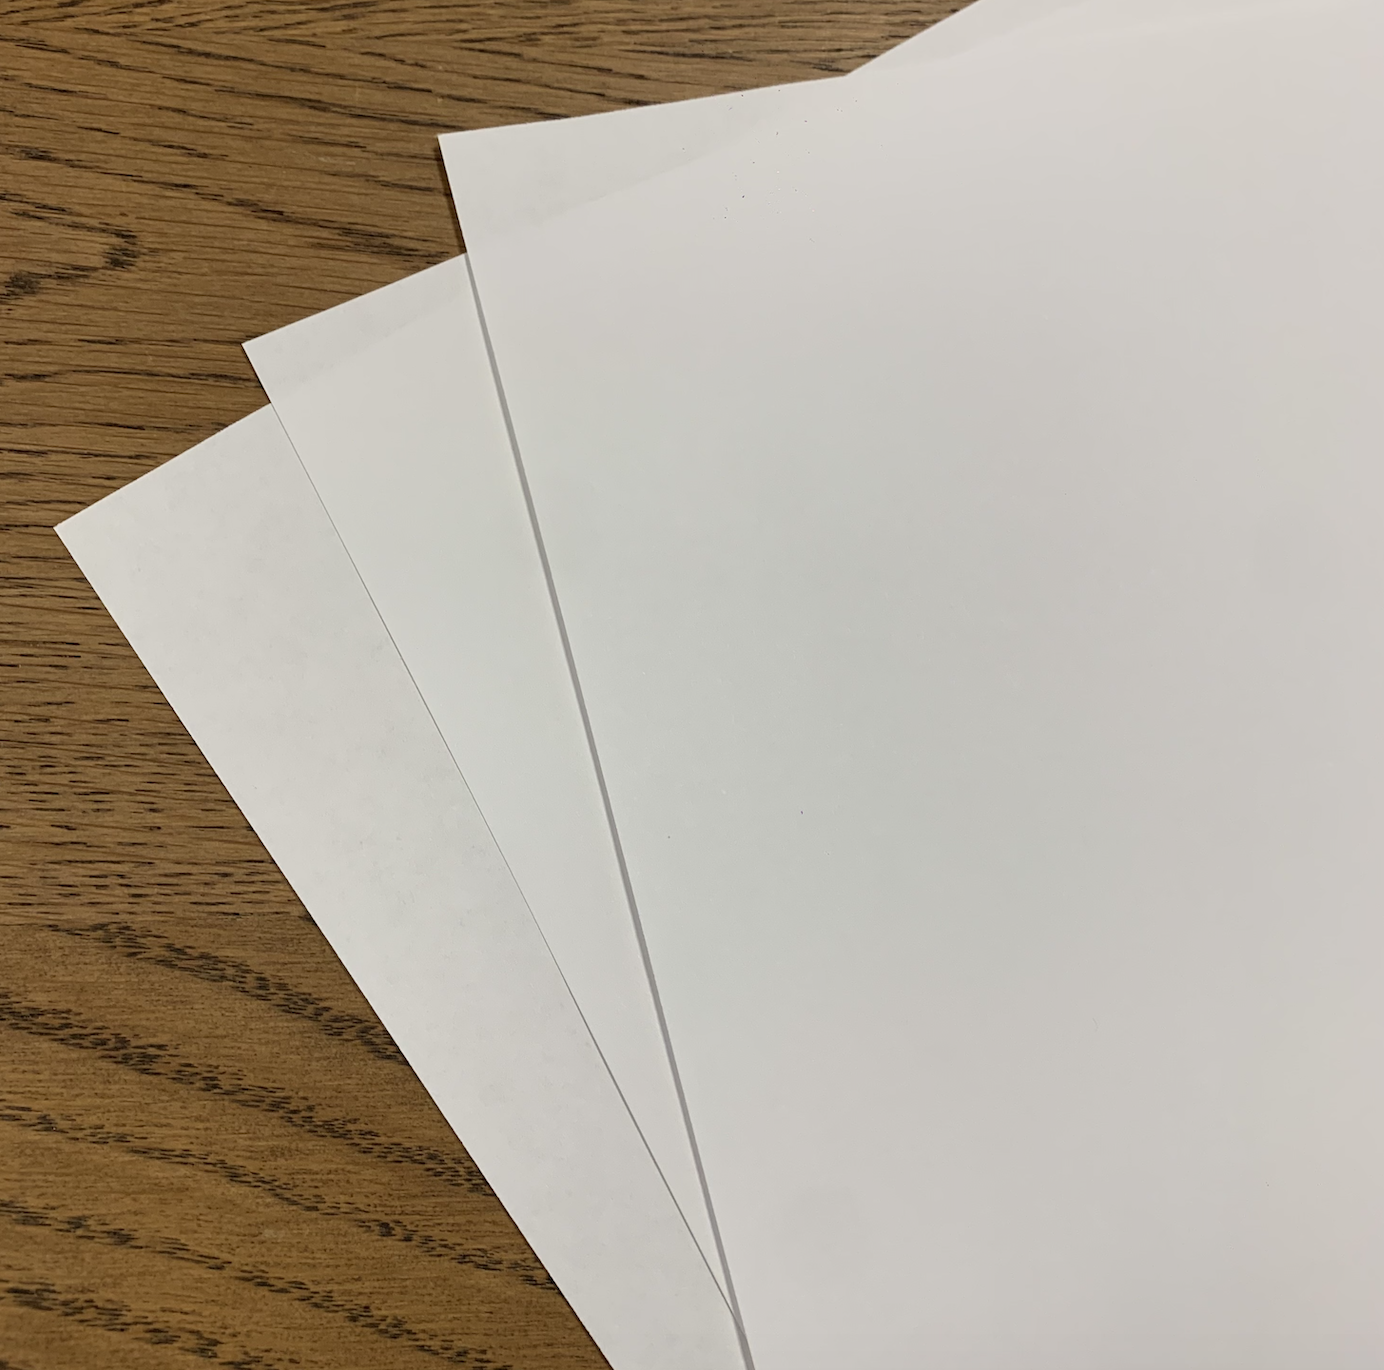
A4 Paper
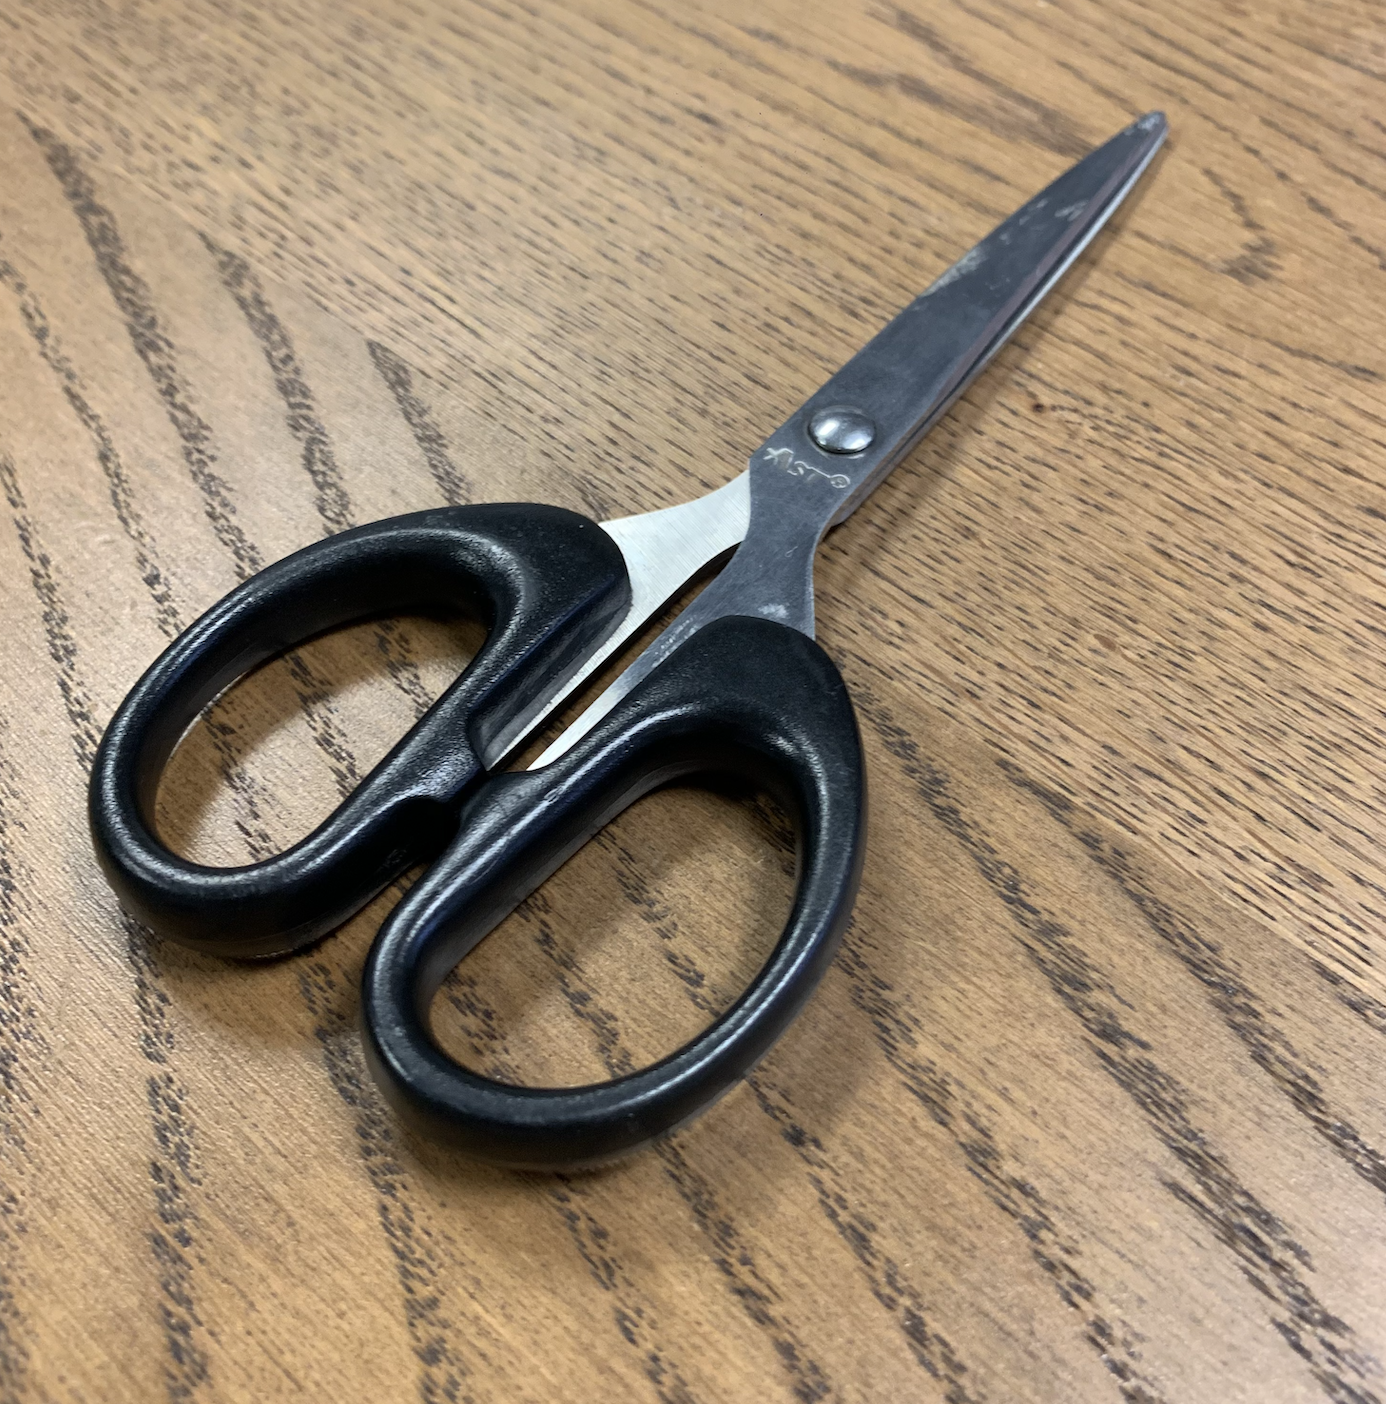
Scissor
Fabric
💡You may use materials of similar kind that are cheaper and/or easier to obtain.
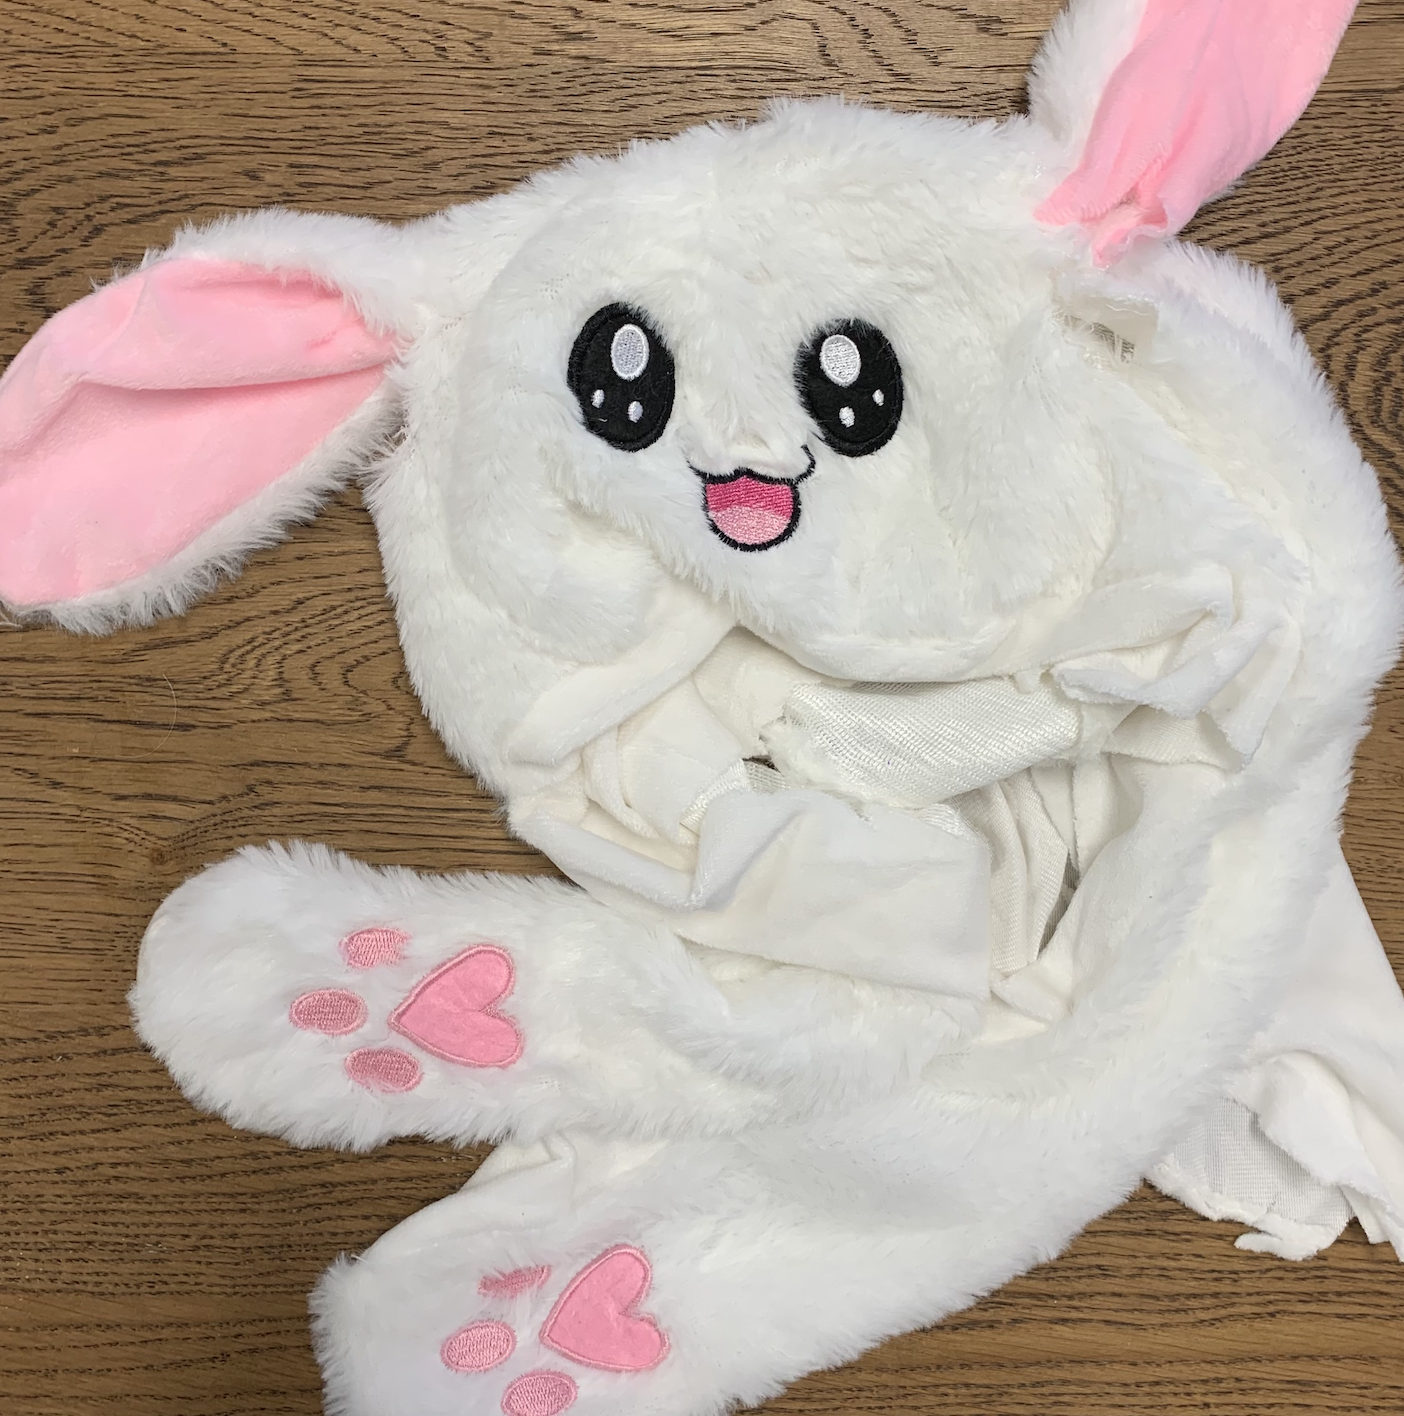
Shape Demo: Inflatable Bunny Hat

Fabrication Steps

💡 Before we start, let’s do some testings to get used to the heat sealer machine and its technique.
Step 1 - TEST the Machine
Put a random plastic film sheet onto the heat sealer machine
Press to see how the heat-sealing works.
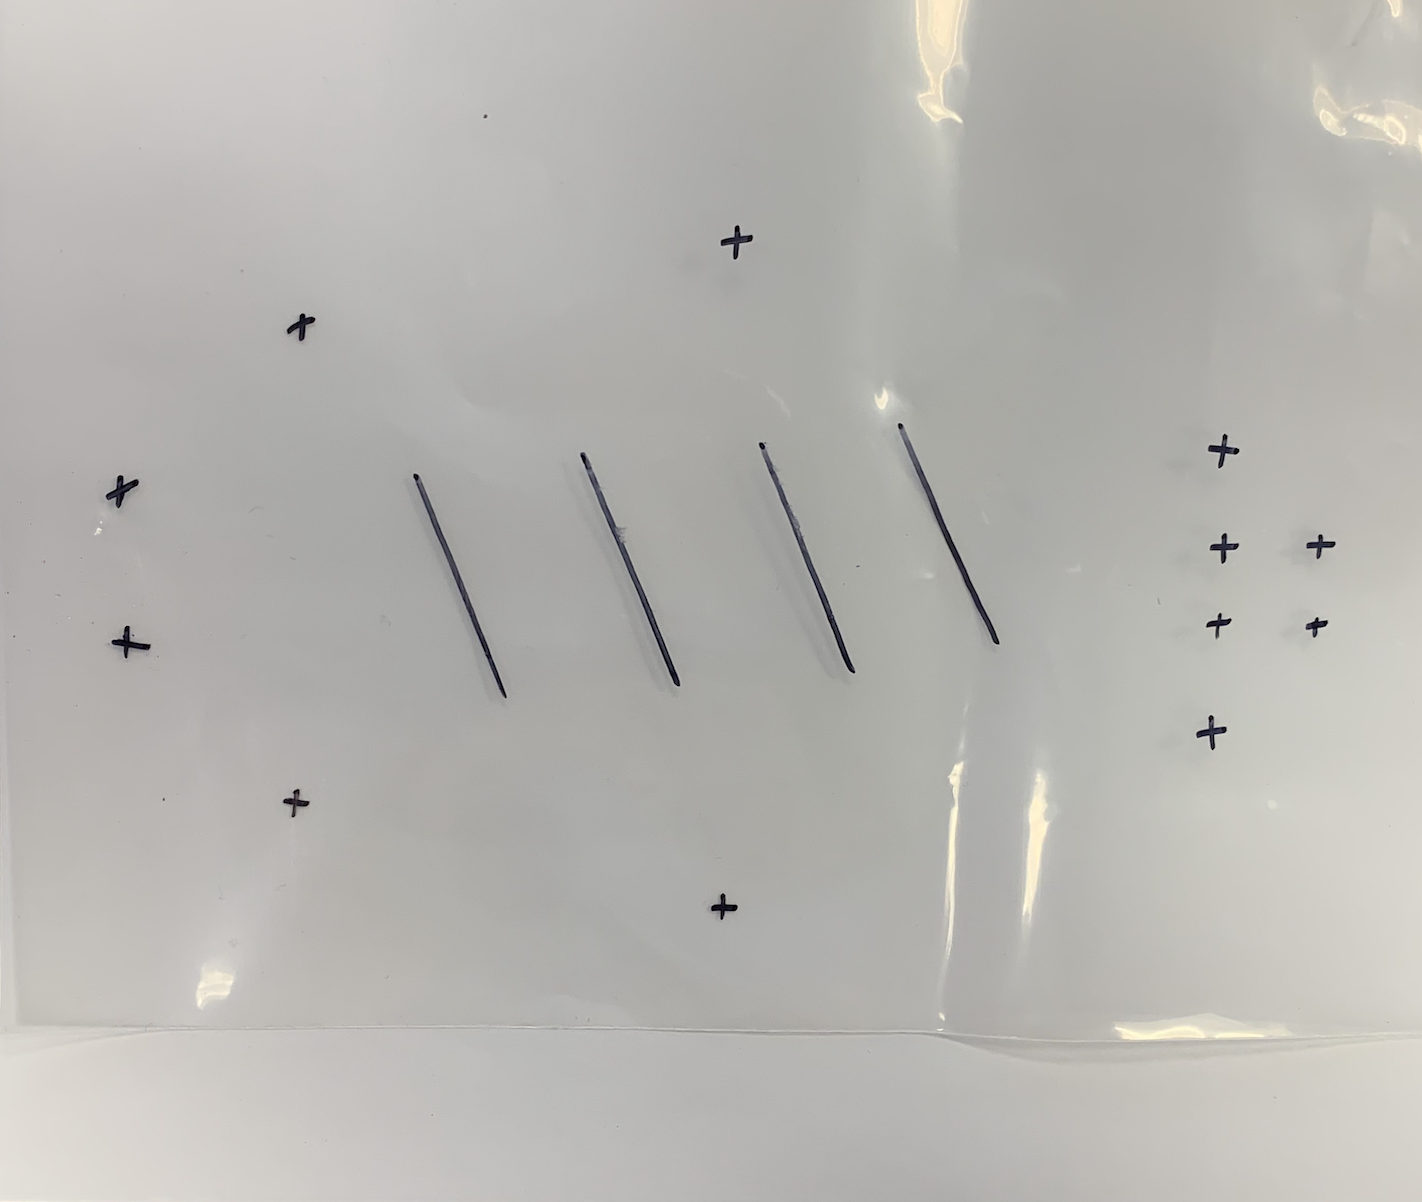
Step 2 - DRAW the Shape
Roughly mark the shape from the hot-sealer film sheet
Draw in Straight Line
💡 Because the machine can only seal straight line
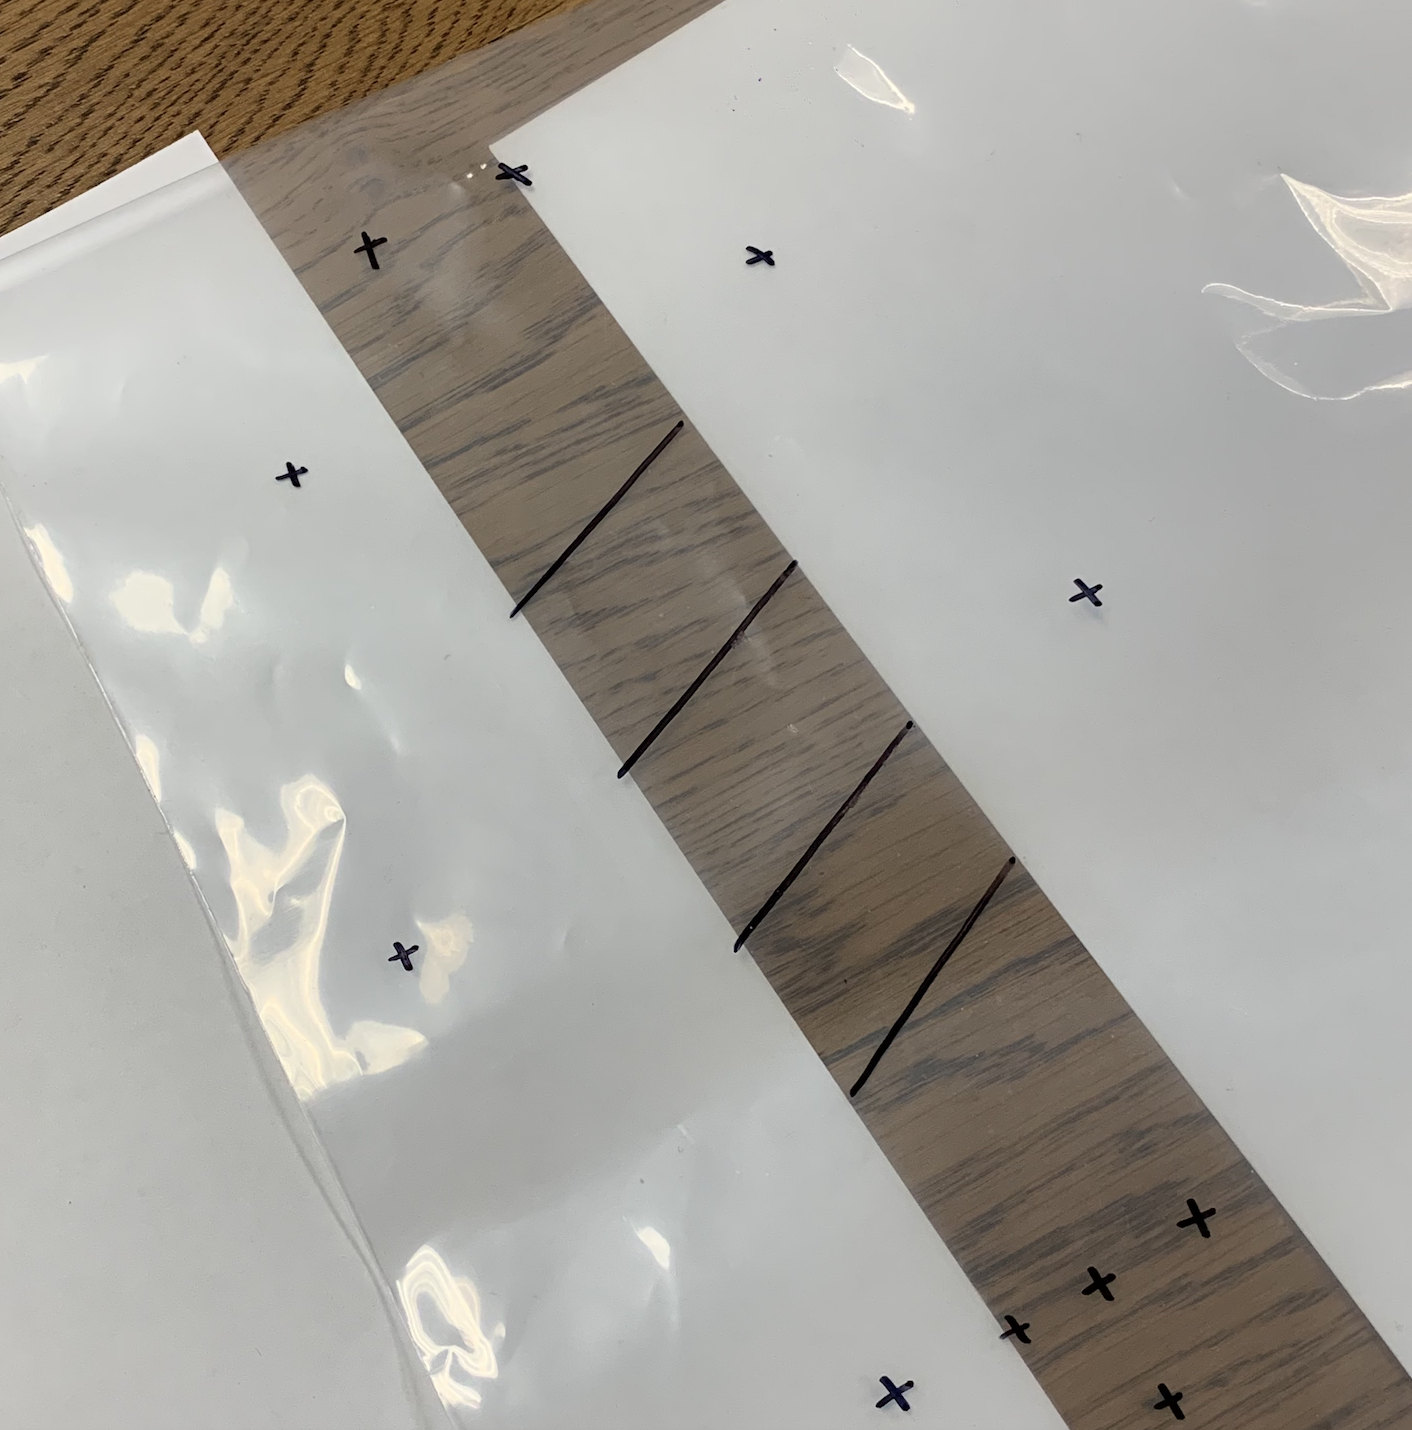
Step 3 - DEFINE heat-sealing outline
Cut out little pieces of paper guide
Insert two pieces at the bottom of the plastic film sheet.
💡 The purpose is to prevent unnecessary sealing while using the sealing machine.

Step 4 - HEAT out the inner shape
Place the film sheet-paper combination onto the heat-sealing machine.
Seal the outline with Level 2 or 3 Heat.
You may need two layers of paper at the bottom to effectively prevent heat-sealing.
💡 Note: Be Careful

Step 4 - HEAT the outer shape
Seal the outline without paper
💡 Slightly off the outline is fine, but make sure the outline shape is clear——the adjacent straight lines should intersect.

Step 5 - CUT out the shape
Use the scissor to cut out the shape
Cut in a round shape to make it look like a bunny ear
💡 Be careful, do not cut through the sealing line,

Step 6 - PREPARE
to morph
Cut out the hot sealed shape
Insert the tube from the air pump to our shape.
💡 Not the bending shape you want? Try to go back to the previous steps to adjust your design.

Step 7 - ATTACH to bunny hat
Press the air pump.
If your heat-sealing is successful (i.e: no air escapes from the bag), you will see an inflated shape.
💡Watch our video above to see the Bunny Ear demo
Science Behind the Inflatables:
Shape-changing behavior for heat-sealed inflatable plastic sheets:
Adapted from pneumatically morphing projects - PneUI and aeroMorph, the inflatables are transformation of flat 2D plastic sheets to 3D inflated shapes.
Mechanism:
Using a heat-sealing machine, we create lines of hinges on the surface of flat plastic sheets, defining both the outline shape and the inner pattern of the airbag. The airbag is then cut out and connected to an air pump via a rubber tube.
The actuation is triggered by the sudden influx of air that causes the sealed sheets to inflate asymmetrically, driving the bending behavior of the material.
Aspiration:
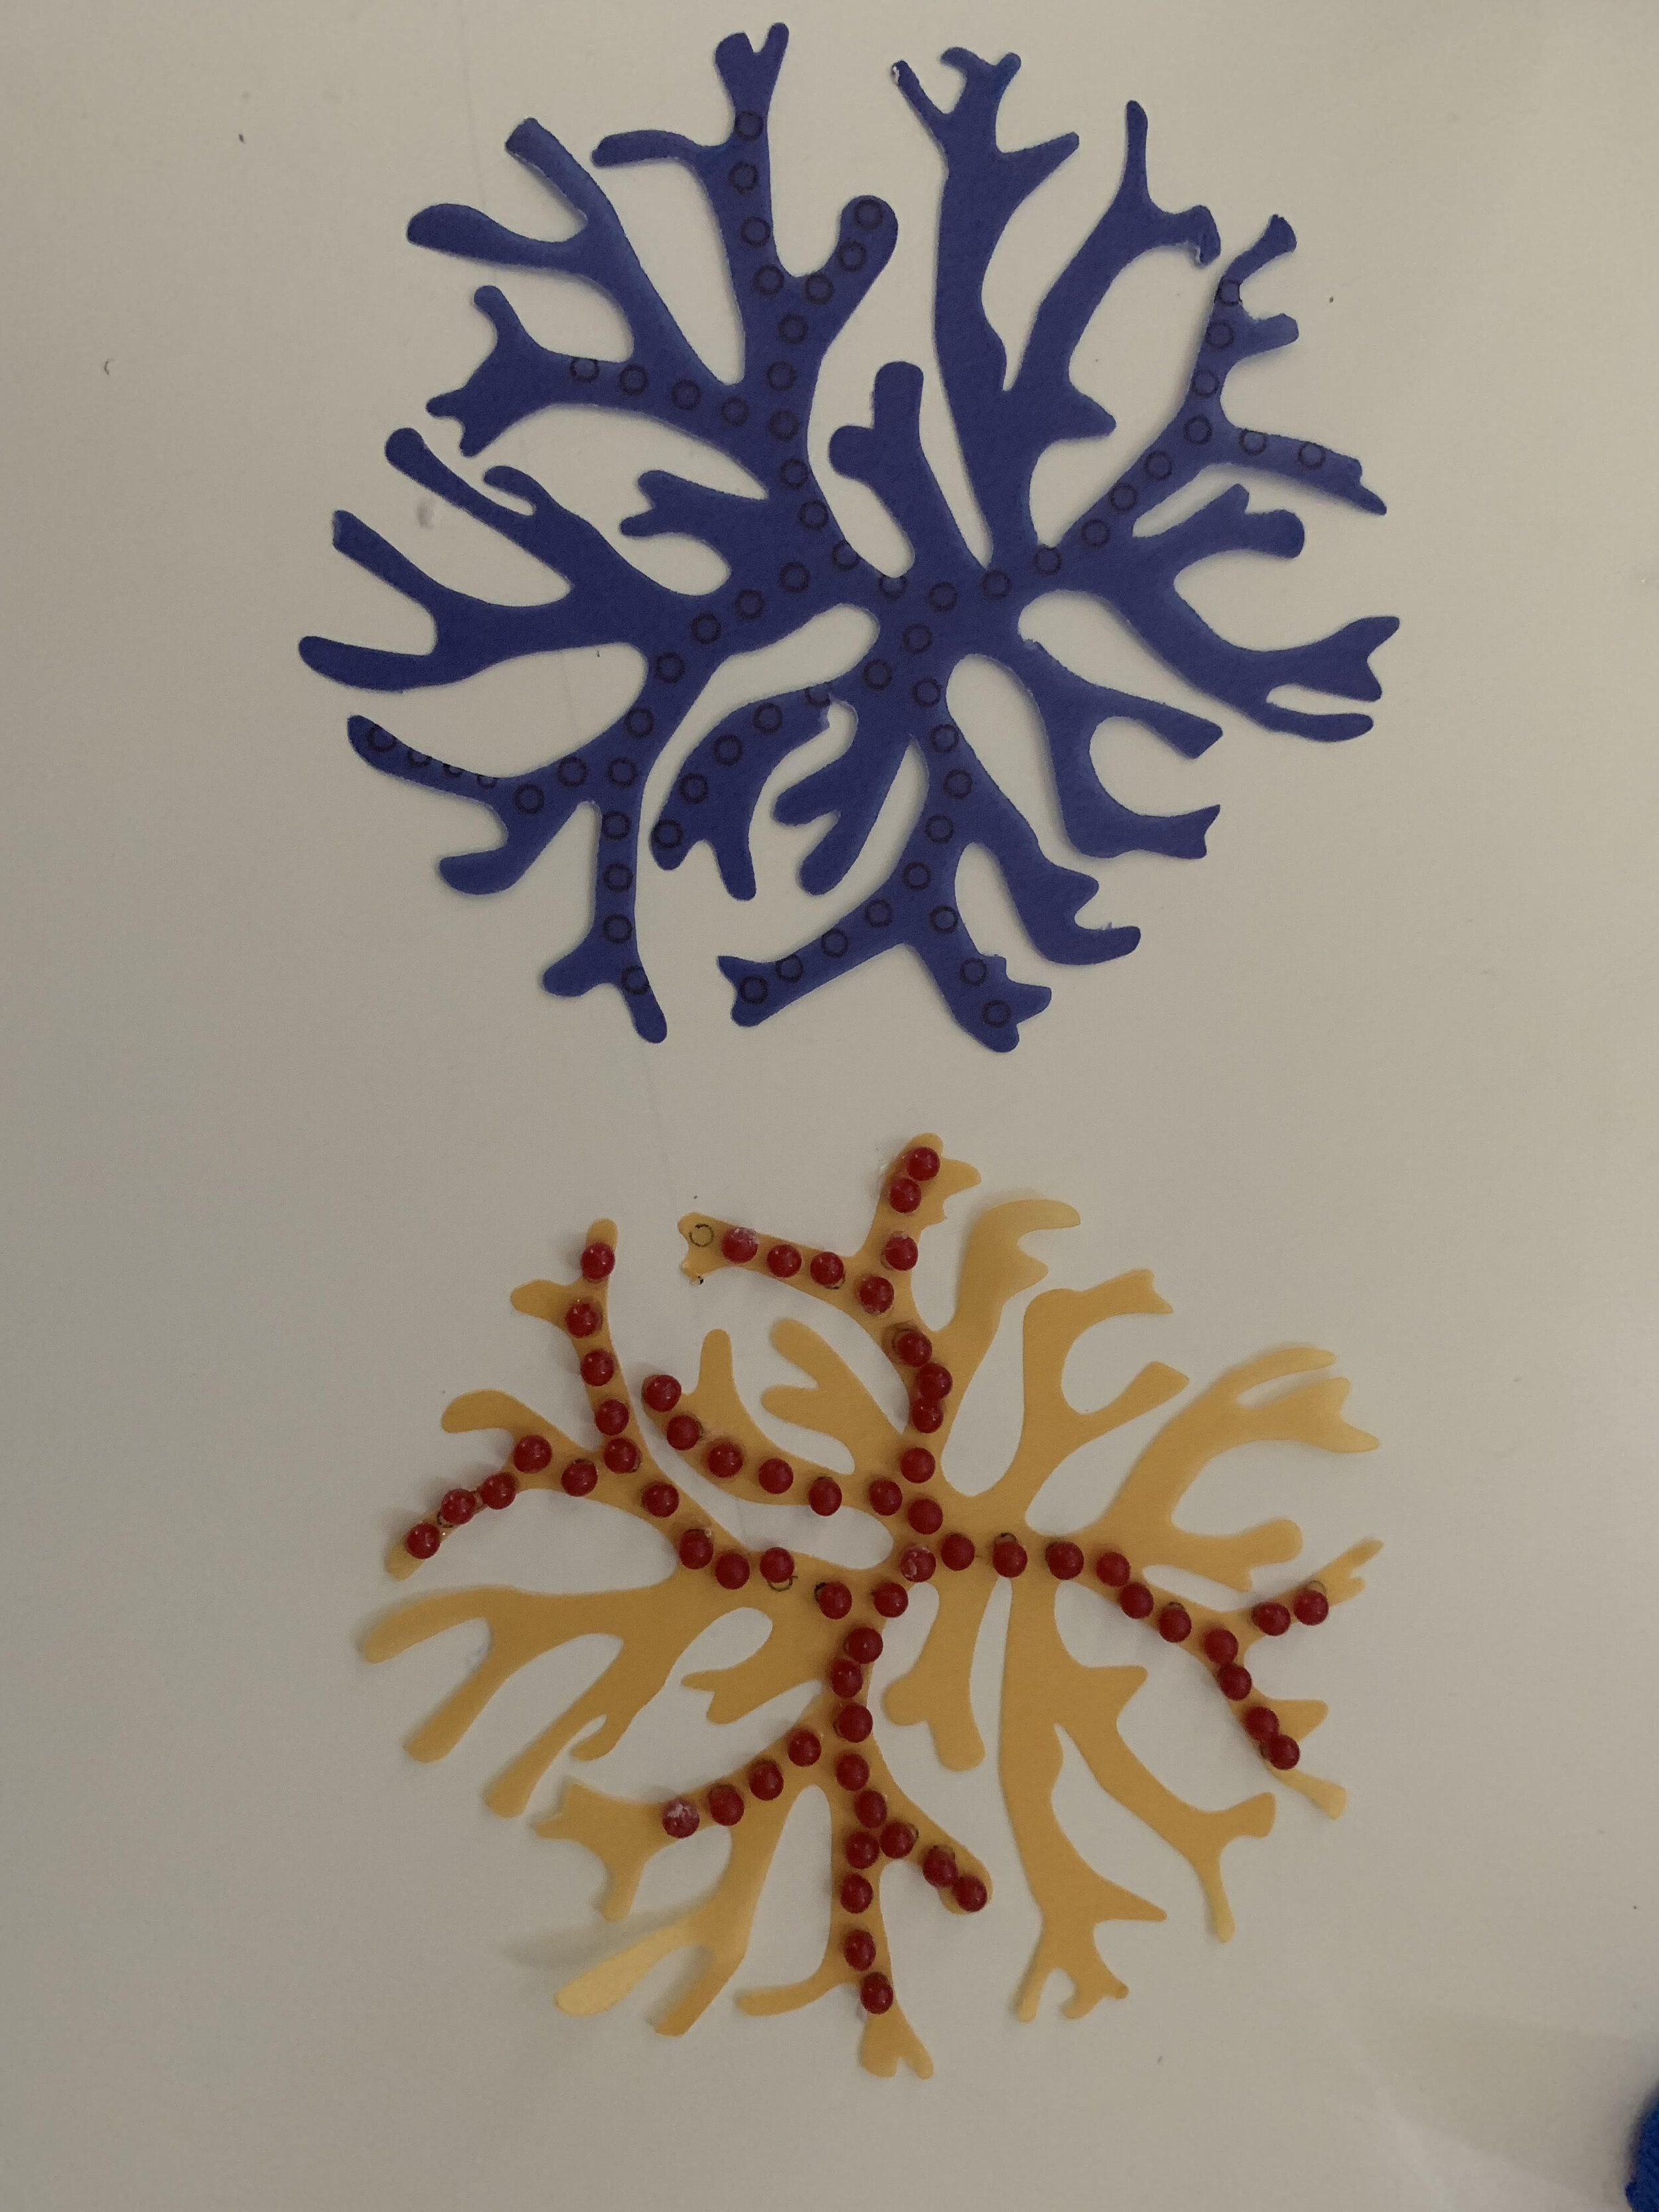
These inflated airbags made from plastic sheets can then be attached to garments and toys, contributing to unique aesthetics and playful experiences. Designing creative shapes using inflatable patterns increases the potential for developing inflatable fashion as a subfield of Morphing Matter.
Project Examples